Showing posts with label dessert. Show all posts

28 May 2013

This is why I garden

In 1997, I moved from Canada to Houston. In Canada, you can grow rhubarb. In Houston, it is only sporadically available in grocery stores. I would carry my limp rhubarb with rotten spots on it to the cash register, and I would be asked "What is that?" and "What do you do with that?". And I would pay $7 a pound for the privilege. I would salvage what I could from this pale shadow of what rhubarb should be.

At home, all of my family grows rhubarb. And towards the end of the summer, every one of them asks who needs extra, because they have too much to freeze. The idea of paying for rhubarb is ridiculous. Rhubarb is everywhere. In all of my homes since 1997 - Houston, Baltimore and San Diego - rhubarb can't live. Houston is too hot. Baltimore is too humid (the roots rotted out of my attempts). San Diego doesn't have a winter, which rhubarb requires. But now, in Massachusetts, we can grow rhubarb.

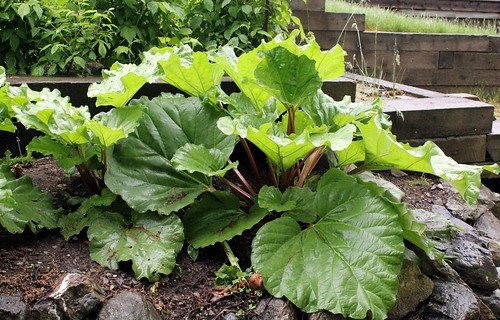
We planted them last spring, and they've flourished.
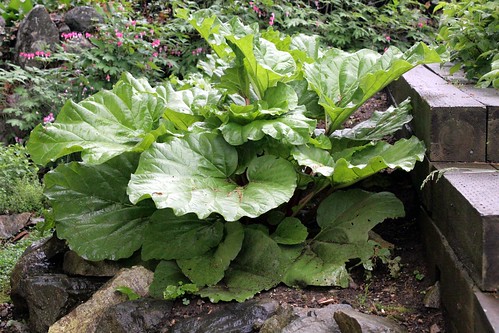
Rhubarb plant
Side view - Rhubarb plant

And this weekend we harvested from them for the first time. Following my mother's advice, I harvested only the thickest stalks. Grasp them, and gently twist and pull. They come off at the base. The biggest stalks should be quite large on a healthy, established plant. Mrs. Dude is shown for scale:
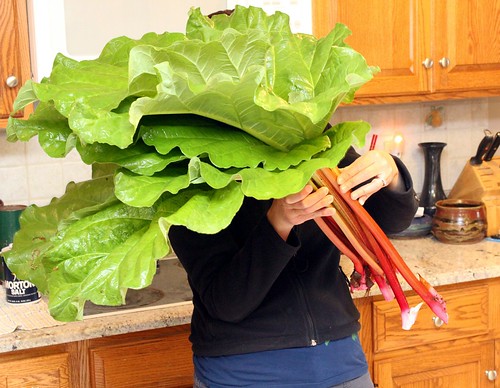
Rhubarb for scale

Cut off the leaves (they contain toxic levels of oxalic acid). And chop the rest of the rhubarb into 18" chunks.

A simple and worthy dessert of rhubarb is rhubarb crisp. Preheat the oven to 375°F. For the fruit:
3 cups chopped rhubarb
1 to 1 ¼ C sugar
3 tbsp flour

Mix the rhubarb, flour and sugar and layer into a large, greased baking dish. Make the topping. If you like your topping crunchy, make 50% more topping than what is below:
½ cup oatmeal
½ cup brown sugar
½ cup flour
¼ cup butter, chopped
18 tsp baking soda
18 tsp baking powder

Mix the topping ingredients, and cut the butter into them. Mix well. When the oven is at temperature, sprinkle the topping evenly over the rhubarb. Place the dish in the oven, and bake for 35 to 40 minutes, until the topping is browned, and the rhubarb is bubbling through.
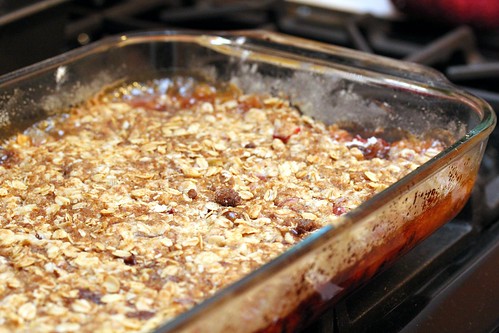
Rhubarb crisp

While still hot, scoop out crisp into bowls, and serve with vanilla ice cream. Perfect.
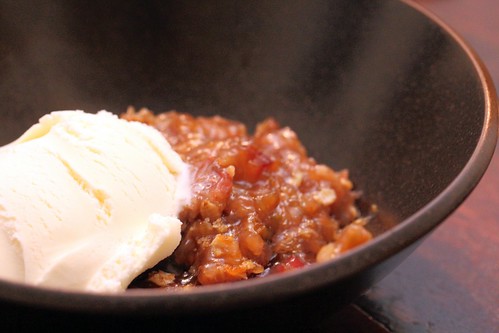
Rhubarb crisp with ice cream

This is an excellent spring dessert to finish any barbecue. And this is why I garden.

By

18 September 2012

Blueberry sorbet

So we've become rather large fans of the local you-pick place, Tougas farms. We spent a quiet morning in August picking 9 lb of blueberries. And for less than $25, I call that a win.

Blueberries

And what do you do with 9 lb of blueberries? Well, we froze a lot of them. But the first thing we made, was blueberry sorbet. I modified a recipe from one of my favourite dessert blogs, Tartelette.

3 cups fresh or frozen blueberries
1 cup sugar
2 cups water
zest and juice of one lemon
1 tbsp blueberry vodka
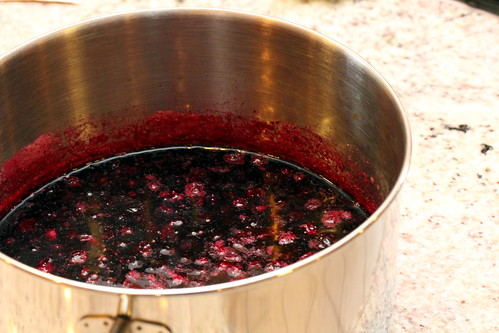
Bring to boil all ingredients, save vodka.

Blueberry syrup

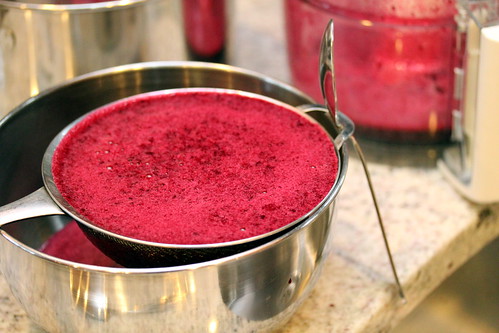
Cool to room temperature. Sieve out the chunks.

Blueberry froth

And add the vodka. The vodka is in there primarily to keep the sorbet from freezing too solid. And I'm delighted by the texture that this recipe attained.

Chill overnight, then run through your ice cream maker the way your instructions say. With my KitchenAid Ice Cream Maker, you freeze the ice cream maker for 24 hours. Then run the syrup in it for about 25 minutes.
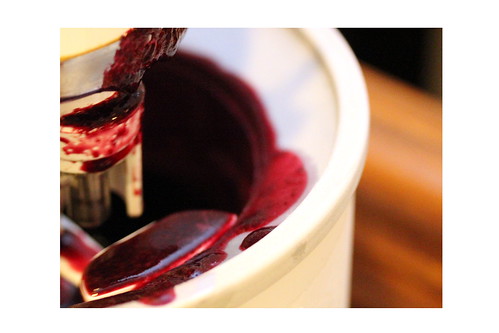
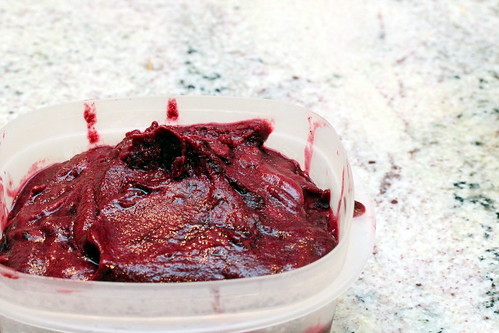
Sorbet making

Transfer the sorbet to a cold container, and cure in the freezer for at least 12 hours to further firm the sorbet.

Blueberry sorbet

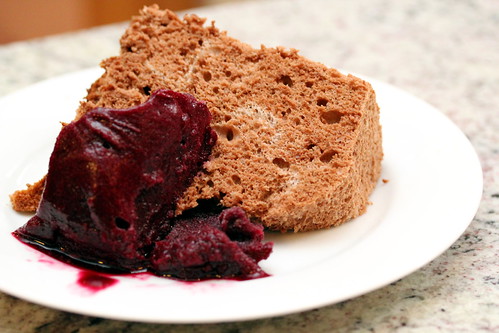
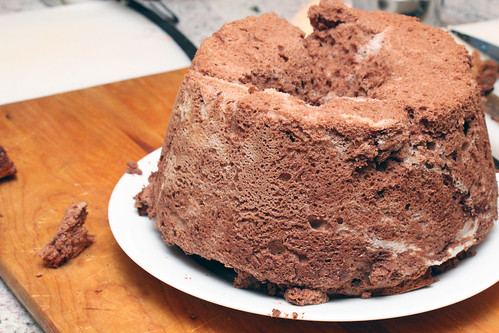
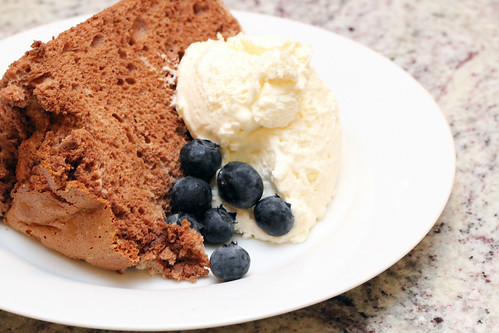
We found this sorbet rather rich-tasting to serve alone. But holy cow does it taste good with a chocolate angel-food cake.

Cake and sorbet

Not bad, not bad. Enjoy.

By

30 December 2011

Portzelky

Happy New Year. These days, we celebrate New Year's Eve with a multi-course extravaganza. But as a child, New Year's Day meant one thing in our house. The Mennonite dish portzelky (pronounced por-tzell-chè - roll the r).

This dish is all about deep-fried, doughy goodness.  Yes, nothing says "I'm going to lose weight this year" quite like deep-fried raisiny goodness. But really, I had you at deep-fried, didn't I?

This recipe is one quarter of the recipe my mother gave me. This recipe gave enough portzelky for my wife, my son, my mum and I, and gave me another 10 portzelky I could bring in to work the next day.  What can I say, Mennonites are used to cooking for 15 young farm workers who know how to eat.
1 ½ tsp yeast softened in 1 cup warm water and a little sugar
½ cups milk, scalded and cooled
¼ cup cream, scalded and cooled.
2 eggs, well-beaten
18 cup sugar
pinch of salt
2 tbsp butter
½ lb. raisins
2 ½ cup flour enough to make a stiff batter
enough vegetable oil to deep-fry
Wake up the yeast in the warm water/sugar mixture for five to ten minutes.  Mix in the other liquids, and the well-beaten eggs. Mix the rest of the ingredients, except the raisins, until you have a thick batter.

Beat with a paddle mixer for five to seven minutes, you want to build up the gluten. Then add the raisins.

Portzelky batter

Cover and let rise for two hours at room temperature.

Risen portzelky batter

Heat up a pot of oil to 350°F.

hot oil

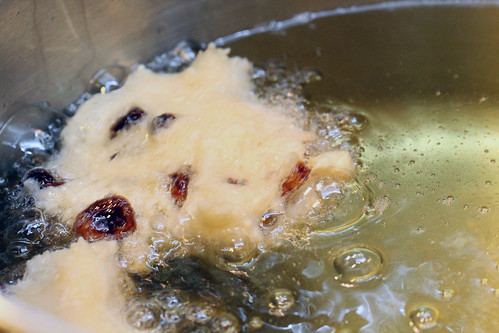
Scoop up a large soup spoon's worth of dough into the hot oil. You don't want too big a chunk of dough, or you won't get a properly crispy exterior to go with the cooked tasty interior.

Remember two things: 1) How much oil you heat up determines how many portzelky you can cook at a time. You don't want the dough to cool down the oil, so make sure the dough chunks are floating separately. 2) Remember, if you're acting scared that you're goinng to burn yourself, you're going to drop the dough from a high height and you're going to burn yourself. Be bold and lower the dough into the hot oil from near the oil.

Frying portzelky

Turn the dough in the oil as it browns.

portzelky

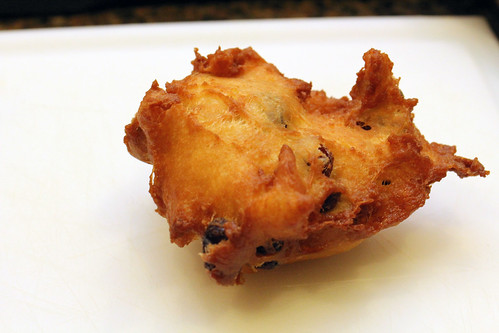
You want a nice golden brown, crispy exterior.

Finished portzelky

Remove when golden brown. Serve with a bit of golden syrup, or a dusting of icing sugar.

These crispy, yeast-dough fritters are a tasty way to bring in the New Year. Happy New Year.

06 December 2011

Chocolate-lover's angel food cake

Chocolate angelfood cake

Happy Holidays. We're well into holiday mode here in the Dude household. We just had our holiday party, complete with eggnog and dumplings.

A common dessert we serve this time of year, and a perennial favourite of Mrs. Dude is the chocolate-lover's angel food cake from Rose Levy Berenbaum's Cake Bible. So here it is. Mrs. Dude's favourite cake, a fluffy light mix leavened entirely by fluffy egg whites:
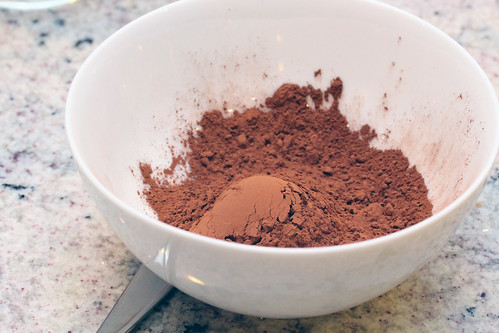
Cocoa
¼ cup + 1 tbsp unsweetened, Dutch-processed cocoa
¼ cup boiling water
2 tsp vanilla
1 ¾ cup sugar
1 cup sifted cake flour
¼ tsp salt
16 large egg whites
2 tsp cream of tartar
Pre-heat your oven to 350°F.

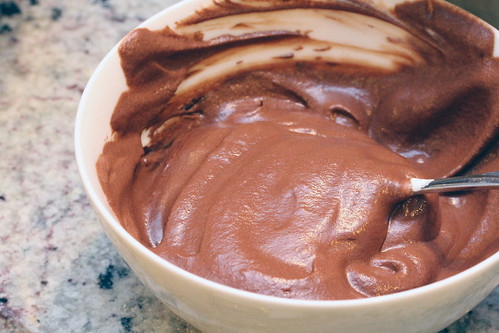
Mix the boiling water and cocoa. Whisk until smooth and paste-ish. Whisk in the vanilla and set aside.

Meanwhile, mix ¾ cup of sugar, flour and salt together.

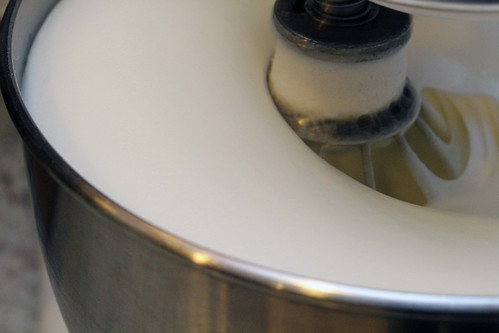
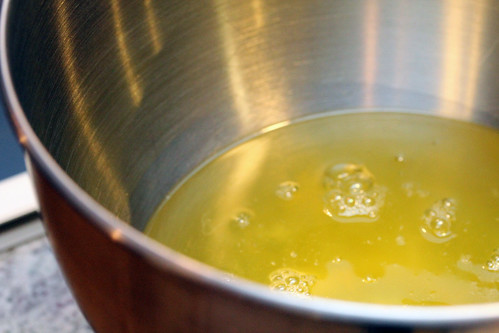
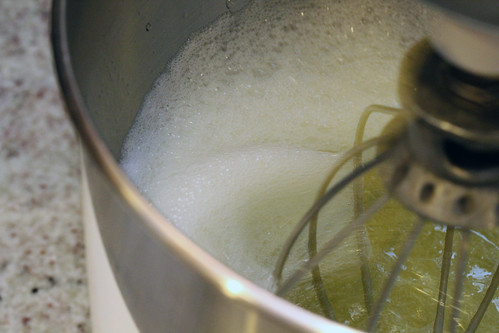
Finally, in a large mixing bowl, mix the egg whites at low speed.

Egg whites

When they're unwhipped, they're all splashy and splorshy.

Egg whites

As they build body, turn up the speed on the mixer.

Egg whites

As they yield soft peaks, whisk in the cream of tartar. Soft peaks are ones that may drop a bit when you remove the beater. The cream of tartar drops the pH of the egg whites, stabilizing the peaks.

Gradually add the remaining sugar to the egg whites, while beating.

Egg whites

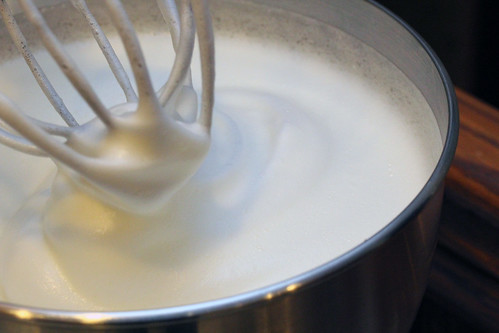
Continue beating until the egg whites have increased to a ridiculous volume, and created stiff peaks. Stiff peaks don't move even a tiny bit as you pull your beaters out of the eggs.

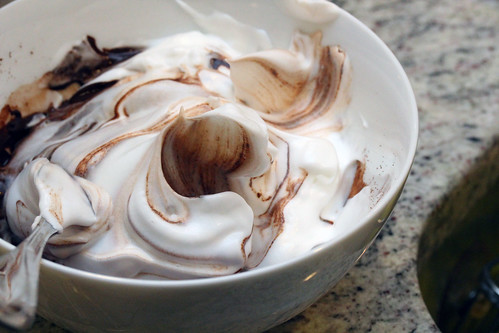
Remove about 1 cup of egg white, and mix well with the cocoa mixture.

Egg whites

Chocolate egg whites

Then, gently fold in the flour into the remaining egg whites, ¼ cup at a time. I like to use a flat whisk. The book recommends using a "balloon whisk", but even the mighty power of the Googles doesn't return a result for that. A flat whisk works well.

Egg whites

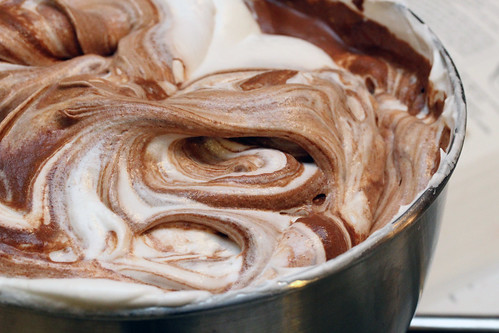
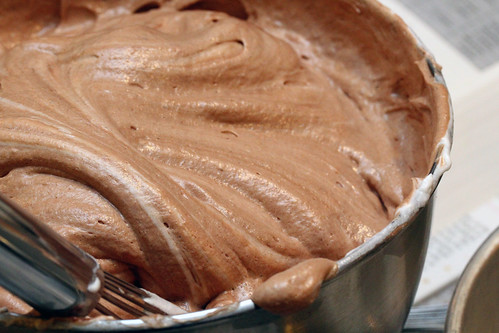
Now, mix the cocoa/egg white mixture into the batter, very gently.

Cake batter

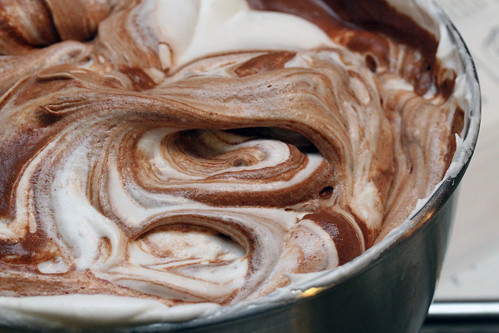
Mrs. Dude likes a bit of swirl to the cake. The trick is to stop when you think it has the right amount of swirl.

Cake batter

Cake batter

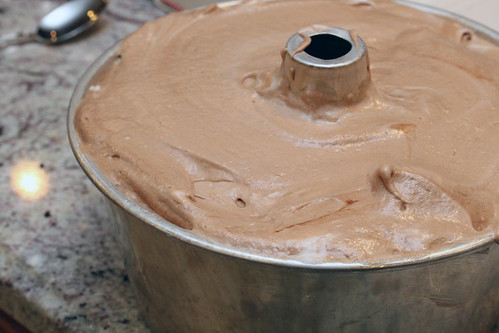
Pour the batter into an ungreased 10-inch tube pan. Stab the batter with a knife a bunch of times to remove holes in the batter. Plus, you know, cake-stabbing.

Cake batter

Place pan in the oven. Bake for 40ish minutes, or until you stab it with a toothpick and the toothpick comes out clean (often as much as 50 minutes when I bake it).

Cake cooling

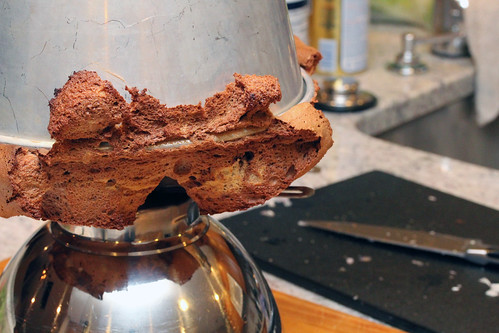
Remove the ridiculously large cake from the oven, and invert in a way that it can be supported on the top of the tube, without crushing the cake.

Cake cooling

I've constructed pretty ridiculous structures to get this to work. The one I show here is a ¼ cup measuring cup inverted on top of an upside-down KitchenAid bowl. I've seen wine bottles recommended, but they don't fit my tube pans. Good luck.

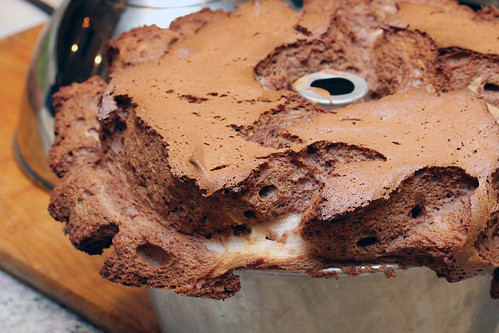
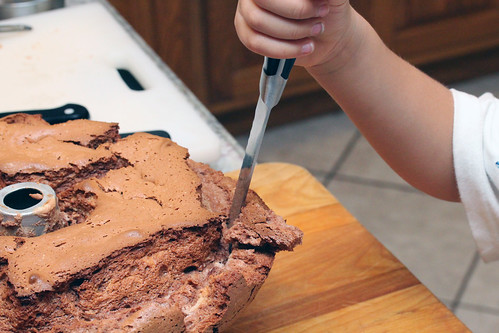
Cool the cake completely, then cut it out of the pan, running the knife around the outside of the pan, and the outside of the tube.

Cake removal

Invert onto a plate, gently shake, and... tada!

Chocolate angelfood cake

Serve with whipping cream and fruit.

Chocolate angelfood cake

Delicious.

By

25 October 2011

Apple pie

Picking apples

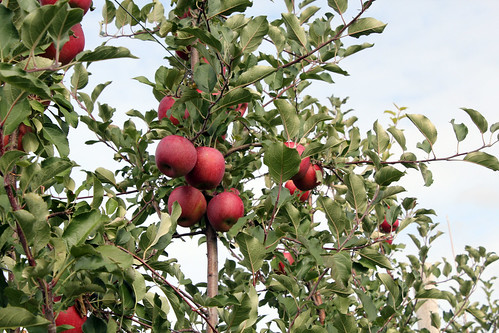
Another day, another visit to Tougas' Farm. It's apple season in Massachusetts, and we're taking advantage of that, so off to Tougas Farm.

Picking apples

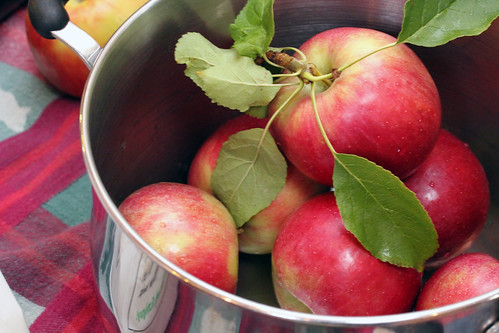
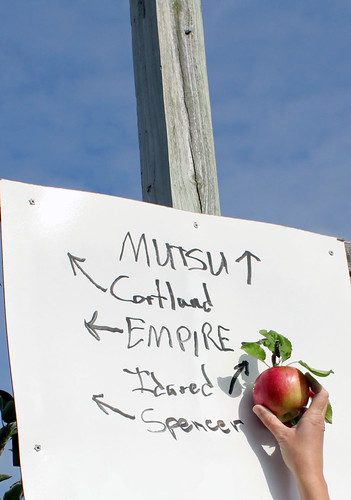
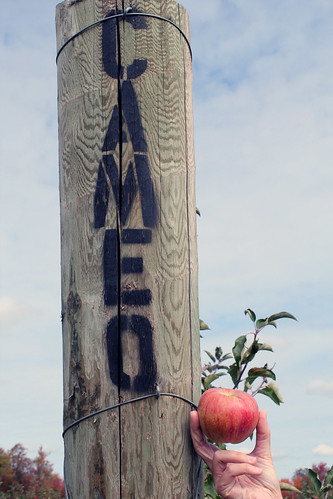
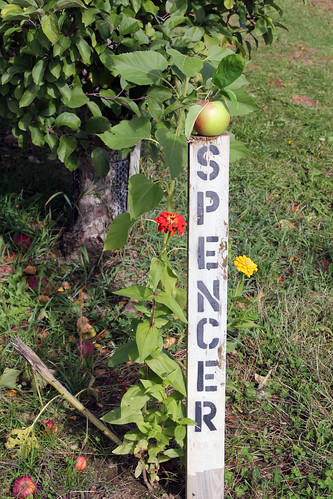
What fun, then, to arrive and discover that they are growing at least three dozen different varieties of apple. After reading their apple literature (yes, they have apple literature), we zoomed in on a few snacking apples (Fuji, among them) and three pie apples.

Idared:

Ida red

Cameo:

Picking apples

And Spencer:

Picking apples

We picked enough for one pie each (6-8 apples of each variety) and wandered through the snacking apple sections, nibbling our way through. Not a bad way to spend a Saturday afternoon, really. But we had to know which was the superior pie apple. So we did an experiment. For science.

One pie each. Same recipe. Same crust. Baked at the same time for the same amount of time. Sampled by several members of the Dude family. Again, for science. We were brave. Somebody has to do it.

We used a family recipe. For one 8 ½ inch pie pan, use one crust, as described in Mrs Dude's rhubarb pie:
6-8 apples, depending on apple size
2 tbsp butter

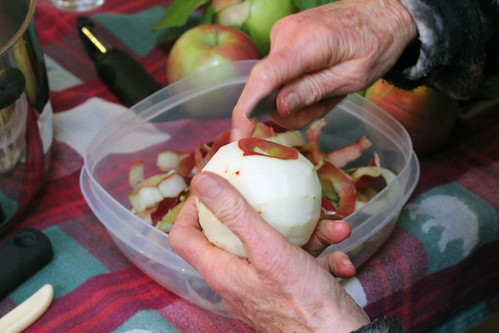
Start peeling the apples.

Apple preparation

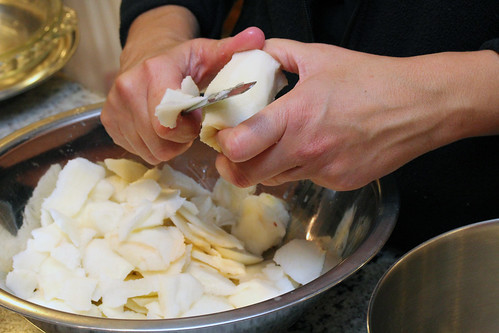
Pre-heat oven to 375°F. Shave the apples into small fragments.

Apple preparation

Mix:
½ cup sugar
2 tbsp flour
½ tsp cinnamon
¼ tsp nutmeg
pinch salt

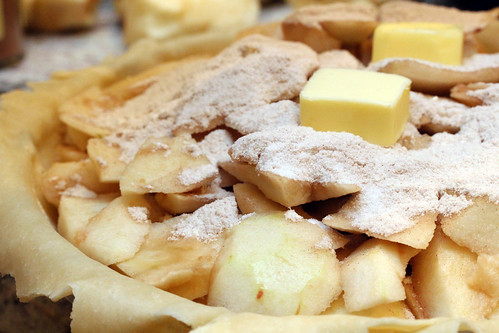
Place a layer of apples in the crust. Layer about one third of the sugar mix over the apples, add a second layer of apples, layer another third of sugar mix on top, then a final layer of apples and the rest of the sugar on top. Lay the butter on top.

Making pie

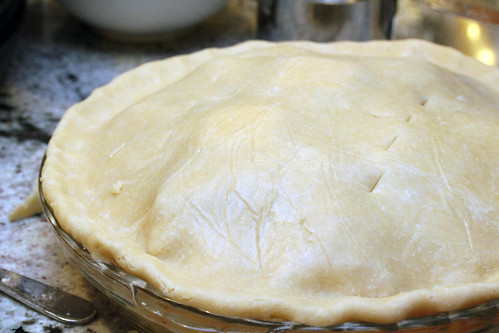
Cover the apples with a final layer of pastry crust.

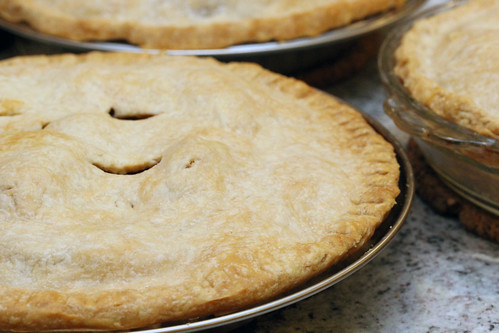
Apple pie

Pinch it closed, and poke some holes in the crust to let steam vent out.

We baked three pies like this. Fifteen minutes at 375°F, then another hour at 350°F.

Apple pie

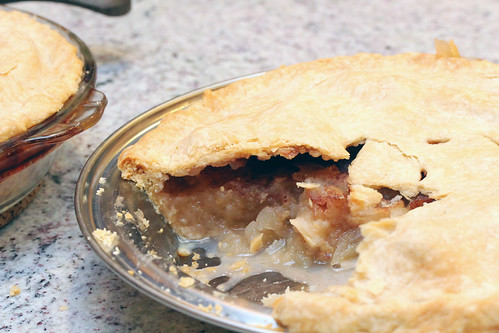
Upon removal, it was clear the Idared pie had a more aromatic scent. It was like smelling perfume pie, really quite striking.

Upon cooling, we discovered that the Spencer pie had become silky smooth, almost too smooth for pie (more an applesauce texture). The Cameo pie was rich in flavor and perfect in texture. The Idared was probably the most interesting flavour, bright and unique, but perhaps too bitter for pie. The hands-down favourite of all was the Cameo pie. Though if we were to do it again, I'd want a pie that was 75% Cameo apple, 25% Idared.

Apple pie

But really, what an experiment. For science!


By

06 September 2011

Lavender rice pudding with blueberries

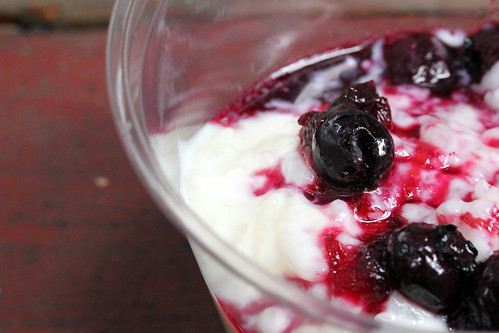
Rice pudding with blueberry goop

Holy moley, with Labour Day come and gone, the summer's over. And I didn't smoke any meat. The combination of moving cross-country and changing jobs means that I've eaten a lot of PBJ sandwiches this summer, and done precious little cooking (and even less blogging). But we have taken a little of the local delicousness into our (sub-let) kitchen. Fresh-picked blueberries. Lobster.

And as we frantically pack our things to move to our fourth temporary home in Boston, we empty out the remaining frozen blueberries from our picking trip. I modified a rice pudding with blueberry sauce recipe. For the pudding:

2 ½ cups leftover cooked short-grain rice
½ tsp salt
2 cups milk milk
2 cups heavy cream
½ cup granulated sugar
1 tsp lemon zest
½ tsp vanilla extract
¾ tsp culinary lavender, in a tea strainer
Mix the rice with all the other ingredients except the vanilla. Bring to a simmer.

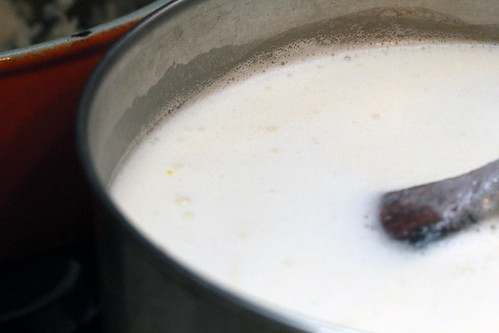
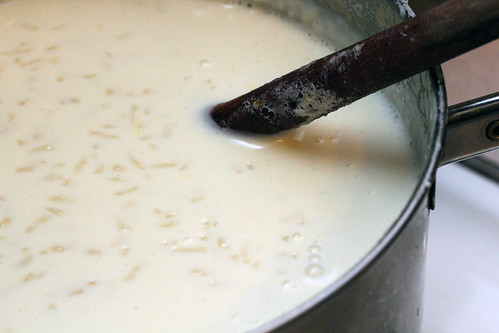
Rice pudding

Simmer gently for 20-30 minutes. It'll still be pretty soupy. That's okay, it will solidify considerably when you chill it. If you overcook it, it'll solidify into cement. Stir in the vanilla and remove from heat.

Rice pudding

Pour into individual servings, and chill in the fridge, at least 2 hours.

Shortly before serving, make the blueberry sauce:
2 cups frozen blueberries
½ cup granulated sugar
1 teaspoon lemon zest
½ tsp cornstarch mixed with 1 tbsp cold water

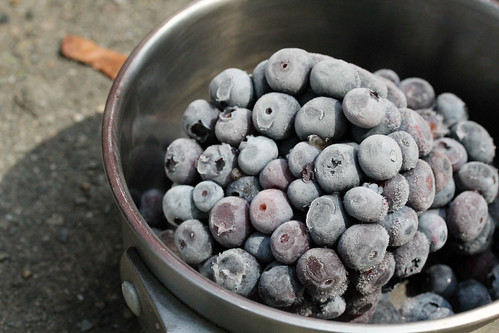
Blueberries

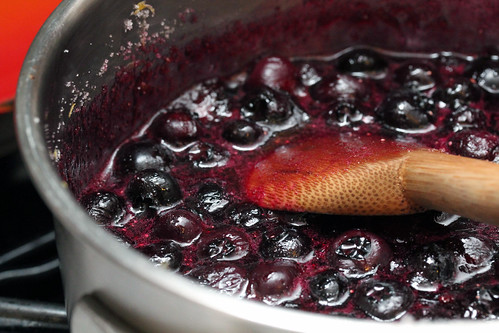
Mix the blueberries, sugar and lemon zest. Heat over low heat until they simmer gently.

Blueberry goop

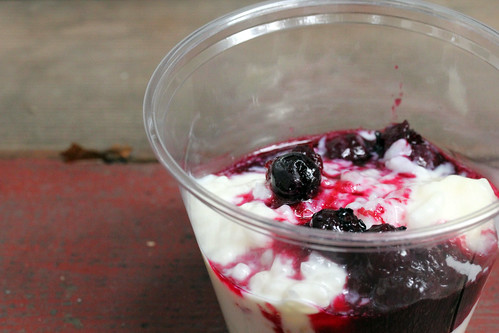
Add the corn starch slurry, and continue to stir over low heat until you get the desired level of thickness. Serve hot over the rice pudding.

Rice pudding with blueberry goop

Delicious.

By