31 March 2011

Yuzu mochi

It seems Asian food has a far broader range of interesting texture than European or American food. Mochi has a slightly chewy texture, and while nearly flavourless, it takes on other flavours nicely. It's nice to gnaw on, and when sweetened and flavoured is very pleasant.

We first discovered mochi nearly ten years ago at Nobu in New York. It was delicately wrapped around little balls of ice cream. The chewy texture of the sweet rice mochi wrapped around a perfect globe of ice cream was sensational.

I purchased my microwave to be able to make mochi at home (several years ago). I present to you, my first success (in a long, long string of failures) to bring mochi-making into the Dude home. Modified from The Sweet Spot:
2 tsp oil
1 cup mochi flour
¾ cup sugar
1 tbsp yuzu juice
23 cup water
3 tbsp potato starch
1 tbsp confectioners' sugar
18 tsp salt
lemon zest

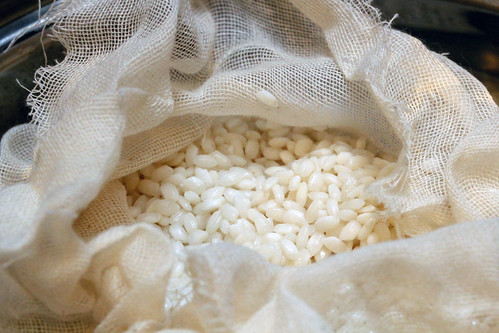
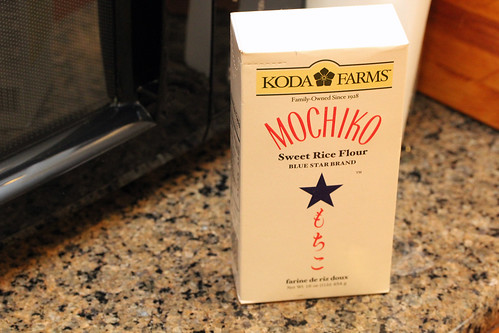
Mochi flour (also called sweet rice flour and Mochiko) is available in most Asian markets. I've only ever seen this brand of Mochiko, available on both the east and west coasts.

mochi flour

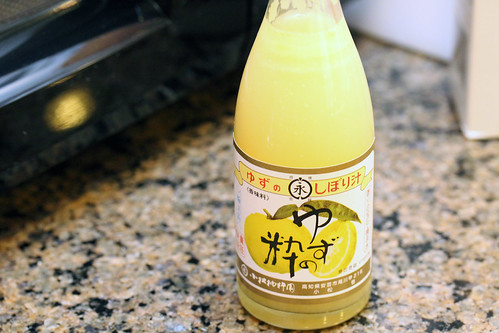
I have only ever seen yuzu juice in Japanese grocery stores. It has a citrus flavour to it, but has a novel bite to it that distinguishes it from lemon. It's stronger than lemon, so substitute even slightly more lemon juice if you can't get yuzu.

Yuzu juice

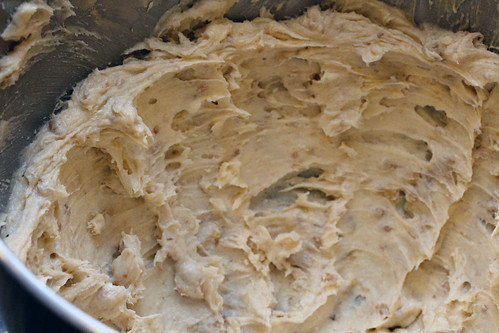
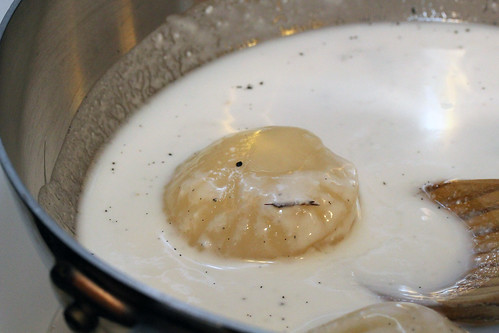
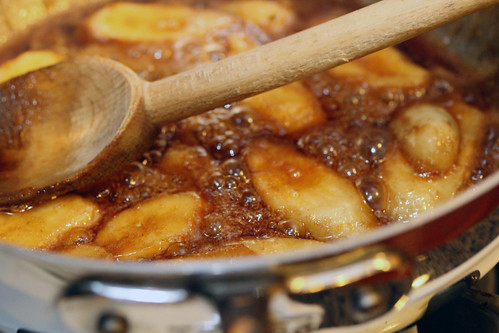
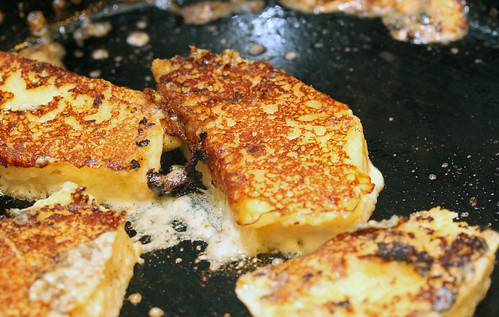
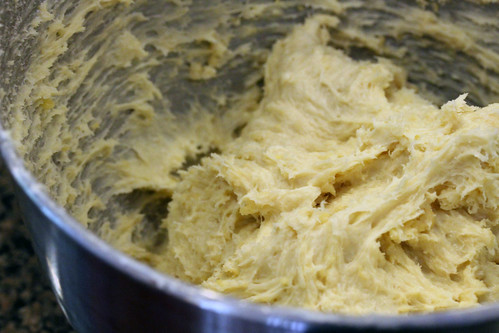
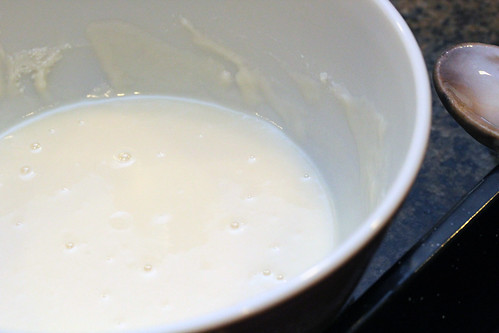
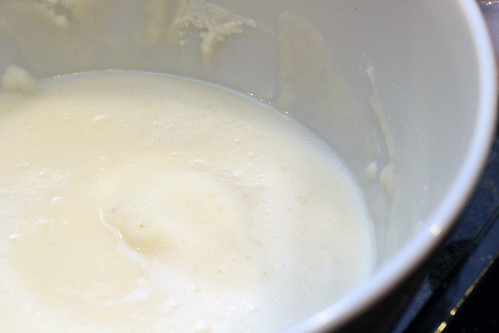
Oil a small baking pan. Mix the mochi flour, sugar, yuzu juice and water in a microwave-safe bowl, until it forms a wet mess.

Hydrated mochi

Cook for 3 minutes in your microwave on high.

Hydrated mochi

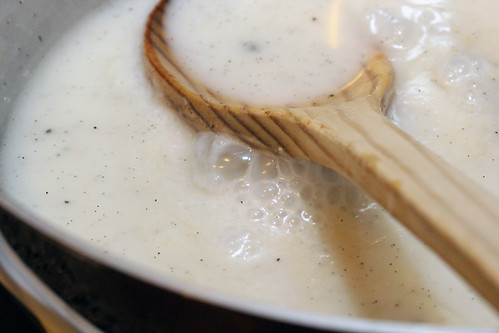
Stir. Cook for 2 more minutes in your microwave on high.

mochi

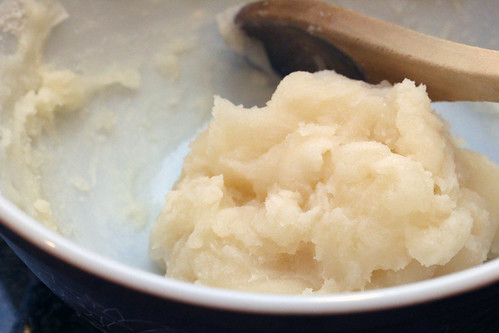
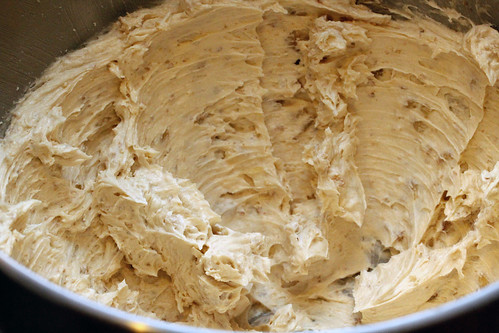
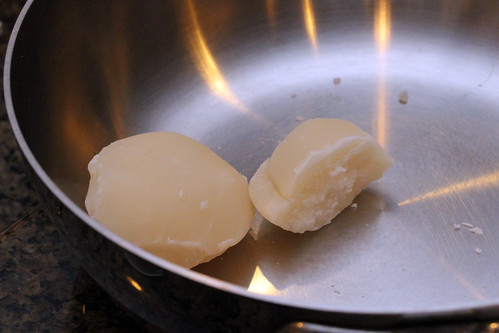
Stir. The mochi is done when it starts to dry out (but before it becomes bubbly and hard). Your mileage may vary (the book suggested ten minutes, I was done in five).

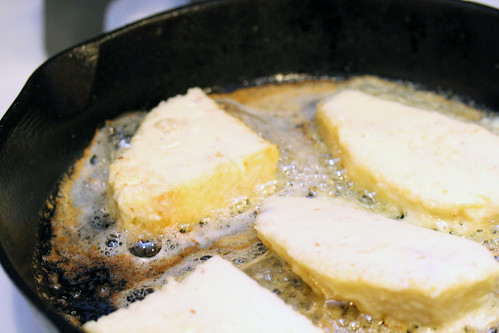
Sprinkle with potato starch, and roll out with a rolling pin to form a layer ¾" thick. Use the potato starch to keep everything from sticking. Place in your oiled pan, let cool.

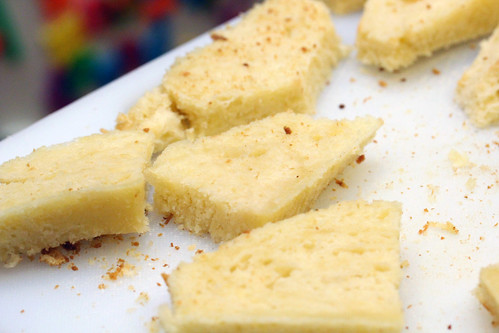
When ready to serve, sprinkle potato starch on your knife before slicing into the mochi. Sprinkle the mochi slices with the salt, confectioner's sugar and lemon zest. Serve.

Yuzu mochi

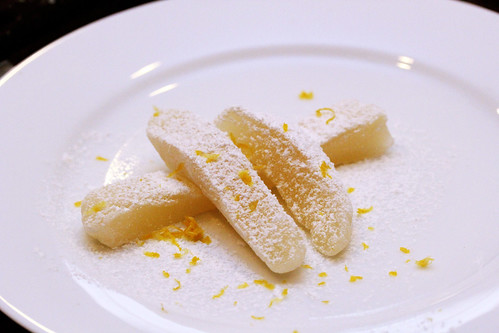
This dessert is not super sweet. The mild-flavoured mochi makes a nice wind down as a second dessert after something bolder. Delicious.


By

29 March 2011

Walnut cookies

It seems lately I'm focusing more on desserts than on barbecue, and this post is no different. I've been trying to make treats to bring in to work for my team. It's a good reason to try new recipes, and a way to save me from eating everything myself. Otherwise, these little dessert excursions could wind up making me a very large man.

I never knew how nice walnuts could be until I moved to southern California. I always associated walnuts with a horrible, bitter aftertaste. It wasn't until a vendor at the Little Italy Farmer's Market in San Diego offered me a taste of his fresh walnuts that I realized how pleasant they can be. The mild, smooth flavour is extremely pleasant. After a brief discussion with him about walnuts, he informed me that the bitter flavour that I associated with walnuts is actually rancid oil in the walnut.

Just like fishy flavour, the flavour I associated with walnuts is due to the fact that they've gone off. Well, now I only cook with fresh walnuts that I've purchased at the farmer's market. Today, I bring you walnut cookies from The Sweet Spot: Asian-Inspired Desserts:
2 cups walnuts
1 13 cups all-purpose flour
1 tsp baking powder
1 tsp baking soda
1 cup unsalted butter, at room temperature
13 cup sugar
½ tsp salt
13 cup packed light brown sugar
1 large egg
1 ½ tsp vanilla extract
Walnuts

Toast the walnuts in a hot oven, briefly (ten minutes, max). You want to release some flavour and darken them. Just a tad. Cool the walnuts to room temperature.

Walnuts

Really, the big difference after toasting walnuts is the smell. You can smell that nutty flavour.

Cream the butter and the white sugar in a mixer until well mixed and smooth.

Creamed butter

Add the brown sugar, the egg, salt and vanilla and continue beating until smooth.

Creamed butter

Add half the walnuts, and continue mixing until the walnuts are well smashed and smooth.

Creamed butter

Mix all the dry ingredients (baking powder, soda and the flour), and stir together with a whisk to get well mixed. Add the dry ingredients to the butter mixture, and mix on low until all of the dry ingredients are nicely moistened.

Cookie dough

Scrape the cookie dough into a bowl, cover and place in the fridge for a few hours, or over night. You want to harden the butter so that the cookies keep their shape. Also, cover the toasted walnuts so they stay fresh. When you're ready, preheat an oven to 325°F.

Prepare a cookie sheet with parchment paper or a Silpat baking mat. Scoop 1 inch balls of cookie dough onto the cookie sheet, keeping them roughly 2 inches apart.

Walnut cookie dough

Stab a walnut shard into each cookie ball. Bake in the oven for 15ish minutes, until the cookies have flattened out and are starting to turn a lovely golden brown.

Walnut cookie

Transfer to a cooling rack, and cool. Or not. These cookies stay soft and chewy for several days, but really are best straight out of the oven.


By

26 March 2011

A lazy Saturday calls for...

...a Thai colada.

Sticky rice drink

What is one to do on a weekend where one has made Thai sticky rice and one has a little leftover syrup?

Make a Thai colada.
2 oz coconut milk syrup from the sticky rice recipe
2 oz white rum

Mix well and pour over ice.

Ahhhhh...

By

22 March 2011

Mango sticky rice

A number of years ago, my good friend Dr. Ricky stopped us at a stand at the Baltimore City farmer's market. It was a Thai sticky rice stand, and they served up a fabulous dessert. Slightly sweet and sticky, with the slices of fresh mango on top, it was a dessert that stuck with me. It had a truly unique flavour (that I would later learn was palm sugar) that had an unusual sweetness to it. I had to find a steady source of this stuff.

I did, from Pichet Ong's The Sweet Spot: Asian-Inspired Desserts. This recipe for Mango sticky rice is derived from that book:
1 cup glutinous rice
1 can (14 oz) coconut milk
23 cup palm sugar
1 vanilla bean
1 tsp salt
1 pandan leaf
2 ripe champagne mangoes
1 tsp black sesame seeds
Glutinous rice

Glutinous rice is often sold as "sweet rice". When you crack open the bag, the grains look quite different from typical white rice. They're shorter and stubbier. And they are smoother with an ivory finish. You can find them at your Asian grocer.

Rinse the rice several times in water. The rinsings will be cloudy. After the final rinse, soak the rice in multiple volumes of water. Leave to soak for two or more hours, while you prepare dinner.

When ready to cook, drain the rice, and wrap it in cheesecloth.

Glutinous rice

Set the wrapped rice into a steamer, and steam for 20 minutes, or until properly cooked and soft. While cooking, you can prepare the "sauce".

Palm sugar (also called palm candy) is a pain-in-the-ass to work with.  It's like a rock. If you can, buy the small rocks, rather than the large ones. It's easier to work with. Either way, you're going to end up smashing it with a meat tenderizer to get it into a measurable size.

Palm sugar

Apparently coconut milk comes in varying quality based on the brand. I am assured by Dr. Ricky that this is the brand you want:

Coconut milk

But otherwise, get the best kind you can at your local Asian grocer.

Palm sugar and coconut milk

Mix the coconut milk, the vanilla bean (with seeds removed into the milk), the palm sugar, the salt and the pandan leaf (if you can get it). Boil over medium heat until the palm sugar has completely dissolved.

Coconut milk gamish

When the rice is done steaming, remove it to a bowl. Add the coconut milk mixture, and allow to soak 10-15 minutes. Meanwhile, prepare the mangoes. Peel and slice them.

Champagne mangoes

Check out those champagne mangoes. The green one is not ripe. The yellow one is nearly ripe. The yellow one with black spots is perfect. That's the one you want to serve.

Scoop some of the rice mixture into a bowl to serve.

Sticky rice

Place the slices of mango on top, and sprinkle on the sesame seeds.


Serve immediately. This is a perfect, sticky, palm-sugary-sweet, delicious dessert. This should be a regular part of your dessert options.

By

15 March 2011

Morimoto-style steak with garlic-soy jus

The last 3 weeks of work have been positively brutal. In addition to working 14 hour days, this past week Mrs. Dude had to travel out of town for work. On queue, Bbq Jr. developed a fever of 102°F. Well, I'm pleased to say, we all survived. The hard work has paid off. Mrs. Dude is home. And Bbq Jr. is feeling better. This past weekend we decided to sleep in, relax and have a few glasses of wine.

Well, to enjoy a family dinner in total rest & recovery mode, steak is the perfect dish. It's fast. It's easy. And delicious. In this particular case, I decided to try Morimoto's recipe for steak from Morimoto: The New Art of Japanese Cooking. (I confess, I cheated because I used up all of my veal stock. I substituted out Better-than-bouillon.):
6 garlic cloves
3 tbsp fresh ginger, peeled
2 tbsp sugar
2 tbsp Better-than-bouillon beef paste
½ cup soy sauce
½ cup mirin
2 tbsp sesame oil
1 small onion
Shave the garlic and ginger on a microplane grater. Grate the onion on a larger grater. Mix all ingredients in a small saucepan and boil for 10 minutes.

Jus

Set aside for the flavours to meld, at least one hour.
2 beef sirloin steaks
salt and fresh ground pepper
2 tbsp grapeseed oil
6 tbsp unsalted butter, cut up
Remove the steaks from the fridge a good hour before cooking.

Raw steak

Set a heavy pan on the stove (I use cast-iron). Add the oil to the pan, and heat the pan over high heat for up to ten minutes. You want a screaming hot pan. Crazy hot. White hot. From the book:
At my restaurants, I instruct my chefs to heat the pan for a full 20 minutes. Your kitchen smoke alarm may disagree, but heat it as long as you can.
Sear the steak for 2 ½ minutes per side. As the second side finishes, turn the heat down to medium, and add the butter to the pan.

Screaming hot pan

As the butter melts and browns, spoon it over the steak.

Buttering steak

Cook for about one and a half minutes for rare. (For more cooked than this, put the steak into a 450°F oven for a few minutes in between searing it on both sides, and adding the butter to the pan. Interestingly, Morimoto only offers instructions for rare steak).

Remove the steak from the pan, and spoon the browned butter over the steak. Let rest at least five minutes before serving. Spoon over with the jus (the onion/garlic/ginger gamish you set aside earlier) before serving.

Sauced steak

I like this method for steak. The crazy hot pan, and the gingery/beefy goodness of the just is particularly tasty. Mrs. Dude said this was one of her favourite preparations of steak. Yum.

Served with:

Served with

09 March 2011

Pain perdu

On my recent visit to Woodfire Grill in Atlanta, there was one part of the meal that really sung. Sang? Singed? Right. There was one part of the meal that really knocked my socks off. The dessert. They made a pain perdu (what we call French toast in English). Except, they turned it into a dessert. I'd read about this before. Instead of a simple mix of milk and eggs, you first turn that milk and egg mixture into a custard. Then dip the bread in that and fry it. How could that *not* be delicious? At Woodfire, it was amazing. I do my interpretation of that dish here.

For the custard, I modified a crème anglaise from the Baking and Pastry: Mastering the Art and Craft book. This will do enough custard to serve about 12 people:
1 cup milk
1 cup heavy cream
½ tsp salt
½ cup sugar
8 large egg yolks
1 ½ tsp vanilla extract
This is just like all the other custards I do (what can I say, I love custards). The trick here is to thicken the custard without curdling the eggs into scrambled eggs. This is accomplished by being careful about not heating the eggs to quickly, and not heating them past 175°F.

So we start with mixing the egg yolks and half of the sugar in a mixing bowl. Beat the egg yolks until they're light and foamy.

Now mix the milk, cream, salt and the remains of the sugar. Bring to a boil, stirring frequently. While mixing the eggs, slowly add the hot cream mixture. This is how you slowly raise the temperature of the eggs (tempering), by adding the cream slowly. Once you've added all of the cream, put it into a double boiler, and heat, stirring constantly. Now you'll want to watch the temperature. When it hits 175°F, immediately pour it through a sieve into a bowl.

If you start to make chunks in your beautiful sauce, you can still save it. Pour it into a blender, and blend in batches. Chill for a few hours.

Immediately prior to serving, start the banana topping. This is modified from a friend's recipe for bananas Foster:
6 tbsp butter
½ C packed dark brown sugar
fine zest of 1 lemon
¼ tsp cinnamon
4 ripe, peeled bananas, halved langthwise
¼ C dark rum
2 tbsp fresh lemon juice
Melt the butter in a saucepan. Add the remaining material, save the rum, and cook over medium heat until the bananas are slightly softened, and the sugar is caramelizing.

Glazing bananas

Stir in the rum, and turn the heat down to low.

Slice 1 loaf of brioche and cut off the crusts.

Brioche

Brioche is perfect for French toast, because it's so moist and spongy, and just sucks up the French toast liquid.

Pour the custard into a shallow bowl or plate. Heat some butter in a medium-hot heavy pan. Dredge the pieces of brioche in the custard, and place them gently in the hot pan.

Frying pain perdue

Flip after a couple of minutes.

Frying pain perdue

Cook 1-2 more minutes, until browned.

Serve hot. Pour some of the banana goo on top, and with a small scoop of ice cream.

Pain perdue

This. is. ridiculous. While warm, this is a ridiculous dessert. It's essentially fried custard cake with bananas Foster on top. Simply amazing.

We served with a Pillitteri cabernet franc icewine. What an amazing end to a meal.

08 March 2011

Brioche

A recent conversation prompted a personal observation. I'm not much of a starch guy. Potatoes? Meh. Rice. A bit better. Pasta, now I'm getting interested, but still not my favourite part of the meal. But bread? Good, homemade bread? I can easily make a meal of a fresh-baked loaf of bread and some butter. My go-to bread is no-knead bread, because it's simple, requires only a few preparations and is obscenely delicious.

But it's not the only bread. I've tried a few different recipes for brioche and been completely unsatisfied. Until I found this recipe, from Crust and Crumb: Master Formulas for Serious Bread Bakers. It's a keeper:
1 tsp instant yeast
½ cup lukewarm milk
1 cup unbleached bread flour
Mix the starter until moist. Cover and let rise for one to two hours. To the starter, add:
3 ½ cups unbleached bread flour
2 tbsp sugar
1 tsp salt
5 large eggs, beaten well
1 ¾ cups unsalted butter, softened
Mix on low in your mixer, until the flour is moistened. Then beat on medium with your dough hook until the dough is soft and smooth. It's stickier than regular bread doughs, but the butter should be well incorporated.

Brioche dough

Mist lightly with a vegetable oil sprayer, cover with saran wrap, and place in the fridge for five to twelve hours. You're looking for the flavour to develop and the butter to firm back up. This will provide the proper texture and flavour for the brioche.

Remove from the fridge, and mold into three equal-sized round loaves.

Rising brioche

Cover and let sit for 2 hours at room temperature to rise. Meanwhile, beat:
one egg
Preheat your oven to 375°F for at least half an hour. Brush the egg wash lightly on the loaves, and bake the loaves for 40ish minutes, until golden brown.

Baked brioche

These loaves are almost cakish in texture, buttery and sweet. They're a fabulous soft bread that makes a nice change from the ordinary. And shaped into the fancy little brioche pans, they can be quite fancy to serve, with minimal effort. Huge success, and loved by all.