I'm a fan of
fish sauce. Made from fermented fish, it adds a lovely
umami dimension to Asian foods. Indeed, my favourite flavour in Vietnamese cuisine comes from fish sauce. And that classic English sauce - Worcestershire Sauce - gets its depth from fish sauce. Yum.
So when I see someone
wants me to brine some pork product in fermented fish, well - there's only one reaction. Yum. This recipe comes from the restaurant
Fatty 'Cue, via the
New York Times:
2 cups fish sauce (preferably Three Crabs brand)
1 medium shallot, peeled and sliced
6 cloves garlic, peeled and smashed
1 tbsp freshly ground black pepper
½ cup sugar
2 racks pork ribs
2 tablespoons (or more?) toasted and ground Indonesian long pepper
6 oz palm sugar
water
First, mix 1 ½ cups of fish sauce with the chopped garlic, pepper and shallots and sugar.
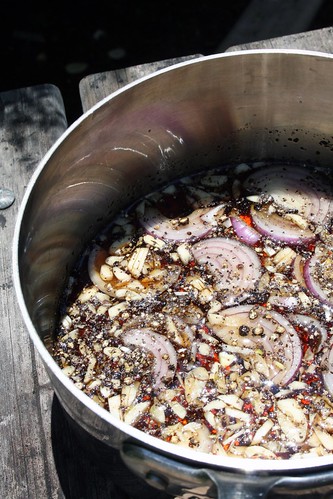
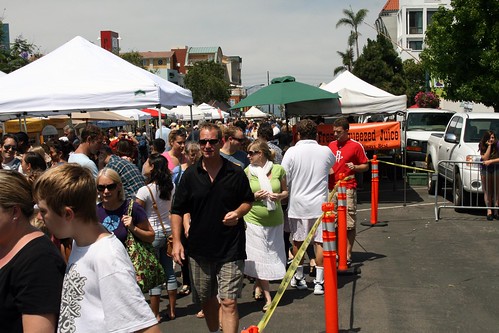
Given that this is a brine, and the salt content of the brine is important, I used the recommended brand of fish sauce - 3 crabs:
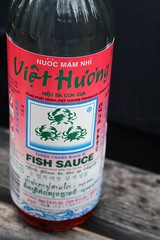
At $3.50 a bottle, this was the most expensive fish sauce. Source:
99 Ranch.
Now, bring the brine up to full volume with a gallon of water. Boil the mix for 30 minutes. Covered. I will now share with you the information that the author of the New York Times article does not: Boiling fish sauce in your home, covered or no, will have adverse effects on your marriage. Keep in mind, I'm a fish sauce fan (see above). I love the stuff. Boiling fish sauce in your home
does not smell good. Fortunately, I did this the night before, so there was plenty of time to clear out the stench before guests came.
Cool the brine, and place in the fridge in a non-reactive container. Six to twelve hours ahead of time (I'd go long on this, if you can), place the ribs in the brine and keep them in the fridge. (Note to self: Is the world ready for fermented rib sauce?).
Okay, before you smoke the ribs, prepare the dry rub. The dry rub is composed of
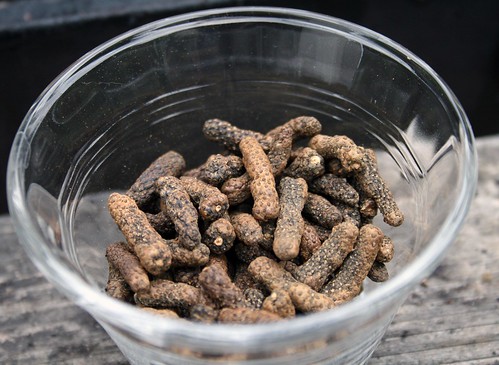
Indonesian long peppers, aka tiêu lóp for Vietnamese folks or Pippali Rasayana in Sanskrit.
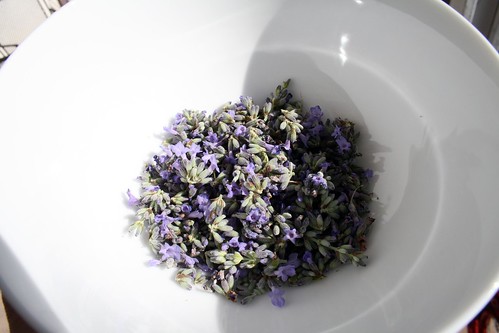
KirkK of mmm-yoso was kind enough to help me track the peppers to the Indian market on Black Mountain Road (undergoing some renovations, sign is down, but I think it's called Bombay Market?). They called these peppers "
peepal small". They come out of the container looking like this:

The recipe suggests you toast them. I put them in a dry frying pan over high heat for about 5 minutes. It was startling to watch them wiggle in the pan as they expanded - wish I had a good enough video recorder to show you. But post-toasting, they were quite fragrant and swollen:
They smelled like black pepper, but milder. And with more depth. Grind 'em up into a fine powder.
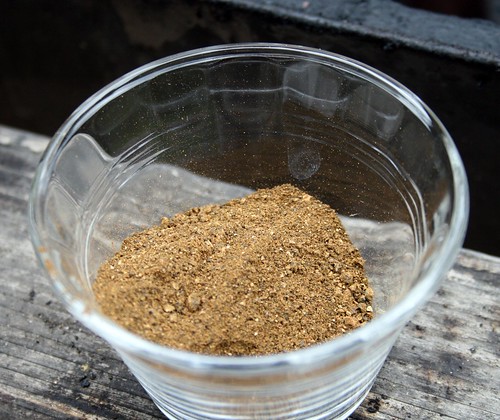
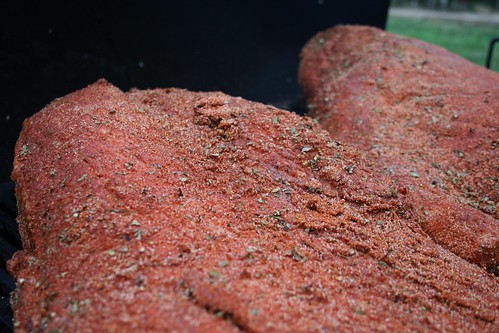
And sprinkle the powder over the ribs. Now this is where I believe I erred. Having never cooked with this pepper before, I went easy on it, when I really should have put on a fair amount. Don't go easy. Use at least 2 tbsp of powder on your ribs. Maybe more. It's a nice flavour, and you don't have to worry about it overpowering the pork.
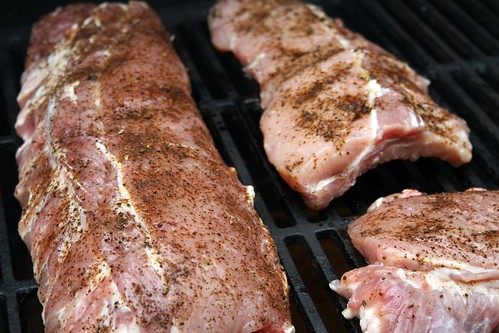
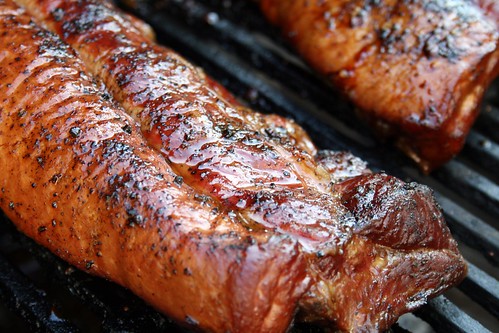
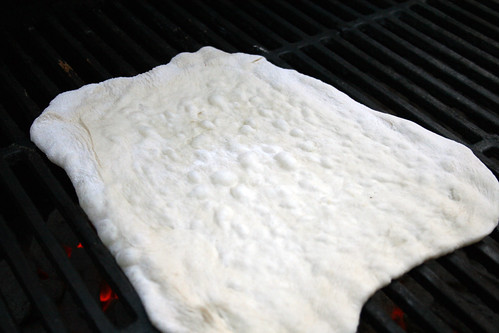
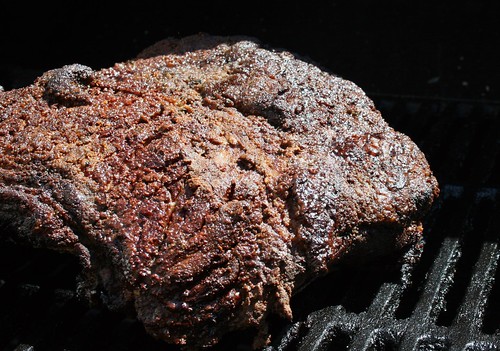
Fire up the grill to smoke on indirect heat. Aim for 200 °F. You've got five long hours to wait for these ribs. Tend the fire with wet hickory and charcoal. End of hour one:
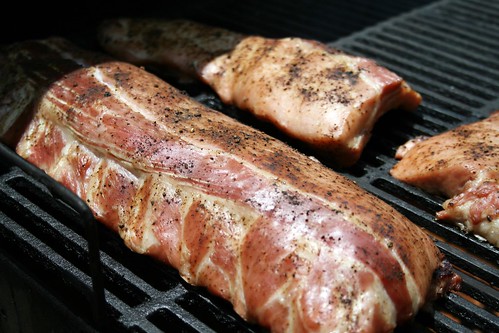
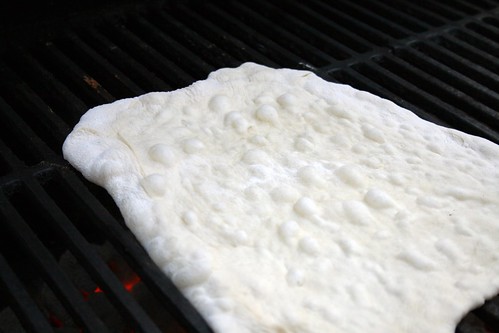
End of hour two:
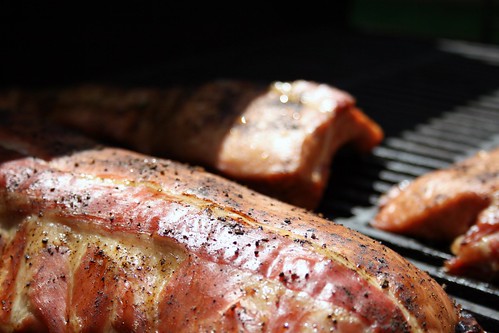
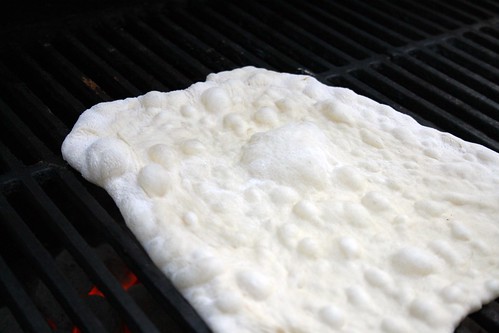
End of hour three:
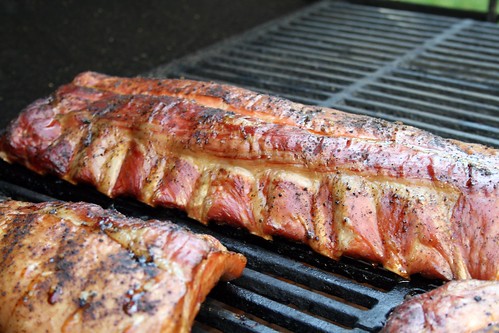
End of hour four:

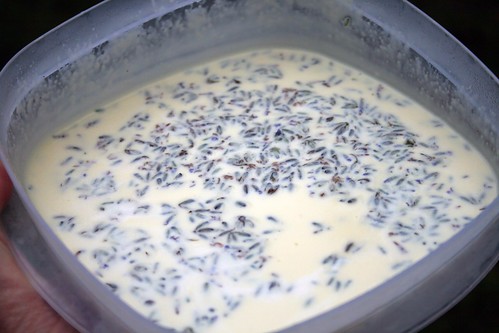
During the last hour, make the glaze. Palm sugar is a sweetener derived from palm sap. It has a characteristic flavour that once you've tasted it, you'll recognize it as the sweetener of choice in many Asian desserts (we make a mango sticky rice that features it - I'll have to photograph it the next time we make it). Palm sugar is available in Asian grocers, sold as a giant brick (often labeled as Palm Candy).
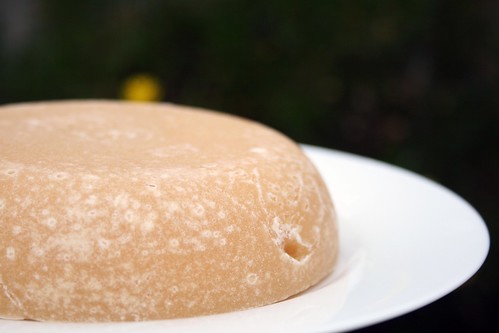
I've not yet figured out how to handle it easily, as the only way to break off a chunk is to whack it repeatedly with a meat tenderizer. I'm sure there's a better way. (Anyone?) Break off 6 oz of palm sugar, and dissolve it over heat in ¾ cup water. Once you've created this simple syrup, remove from the heat and add ½ cup fish sauce. Brush this glaze over the ribs a few times during the last half hour.
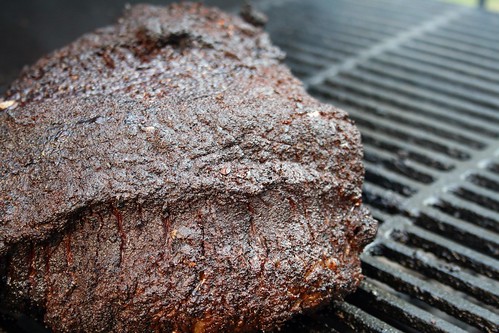
At the end of hour five:
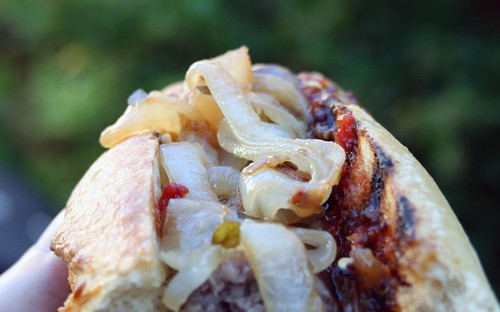
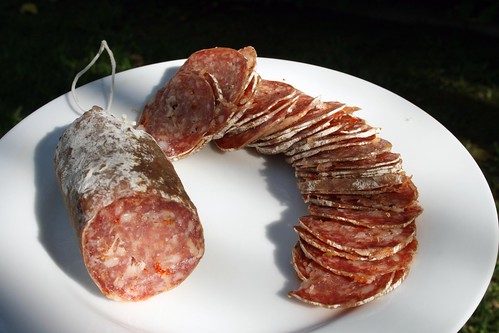
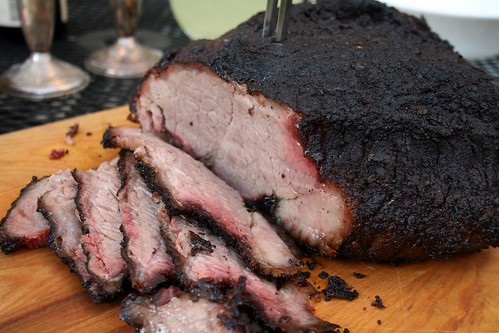
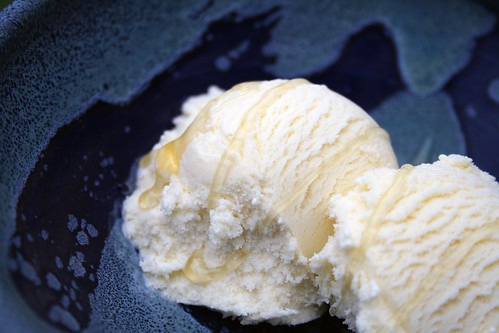
Remove from the smoker. Let rest ten minutes, chop and serve. Meat should be tender, and practically falling off the bone.
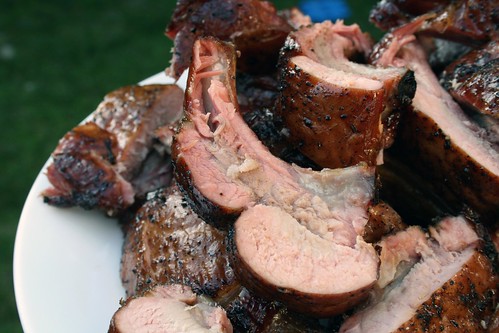
These ribs were quite nice. Moist, smooth and not terribly sweet, despite all the palm sugar. And much milder flavour
than our usual rib preparation.
Serve with:


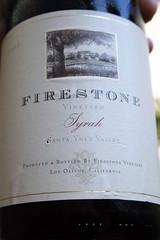


