Showing posts with label indirect heat. Show all posts

25 September 2012

Empanadas

Boston isn't the largest city in the U.S. Not by a long shot. But being a college-town on steroids means that it's a cosmopolitan town that attracts scientists from around the world. Despite living the furthest from Latin America in all the years that I've lived in the U.S., there is plenty of Latin cuisine here. And that often means empanadas are served at potlucks.

Grilled empanadas

We've taken the Argentine recipe from Seven Fires: Grilling the Argentine Way and cooked them on the grill.

Here we go. Make the dough and the filling the night before you plan to serve these tasty critters.

For the dough:
2 cups water
1 ½ tbsp salt
3 ½ tbsp lard
6 to 7 cups all-purpose flour

Bring the water and salt to boil. Remove from heat, and add the lard. Stir until the lard melts, then transfer to a bowl to cool.

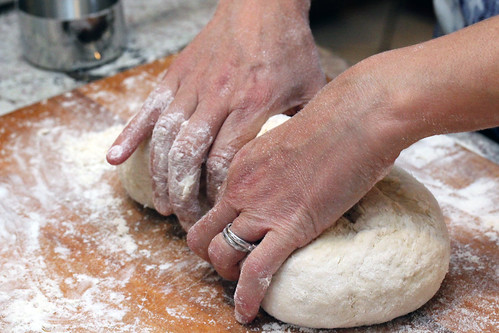
When it's cooled to room temperature, mix in the flour, a cup at a time, until you've added 6 cups. Flour a surface, and knead the ball of dough, adding flour until you have a stiff, dry dough.

Working the dough

Split the dough in half.

Working the dough

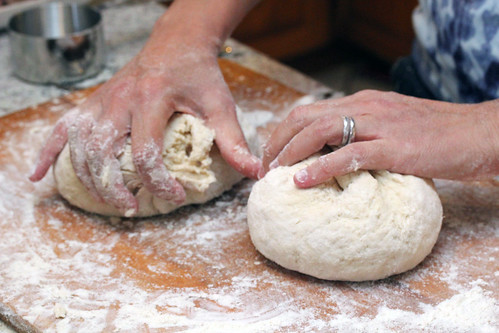
Wrap and place in the fridge to chill overnight.

Meanwhile, make the filling:
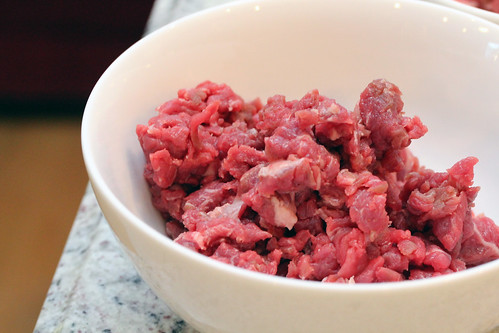
1 lb well-marbled sirloin
coarse salt and fresh pepper
10 tbsp unsalted butter
¼ cup lard
3 medium onions
1 tbsp crushed red pepper flakes
1 tbsp ground cumin
1 tbsp paprika
4 scallions, minced and separating green and white parts
2 tbsp extra virgin olive oil
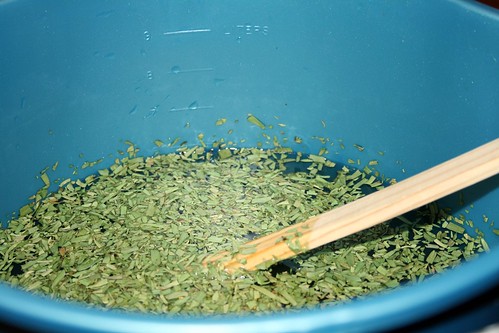
¼ cup fresh oregano leaves
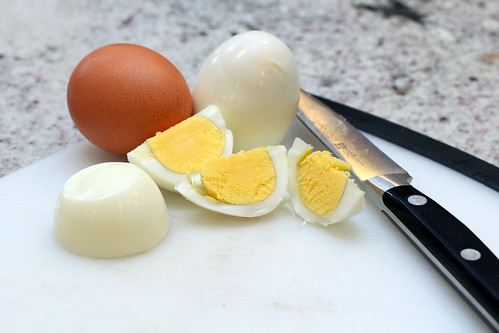
3 hard-boiled large eggs, coarsely chopped
½ cup pitted green olives, coarsely chopped
Trim the most egregious pieces of fat off of the beef. Then chop finely. Think ground beef, but not quite that fine. That's why you do it by hand, you want it to still have some texture to it, but you want it pretty fine.

Chopped beef

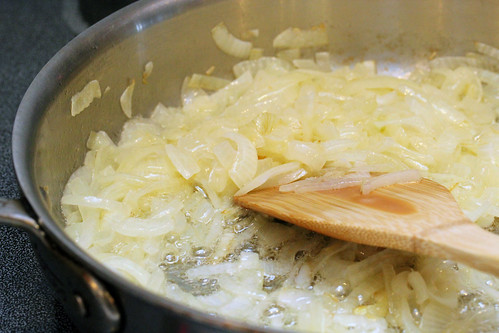
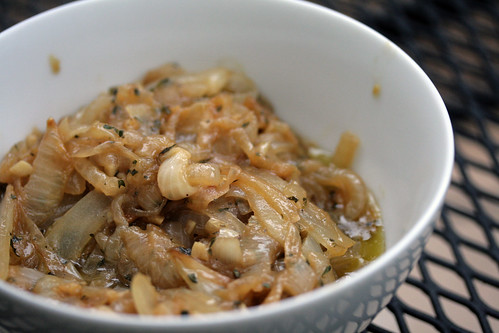
Chop the onions. Sauté the onions in the 6 tbsp of butter and 1 tbsp of lard over low heat. Cook until clear.

Sauteed onions

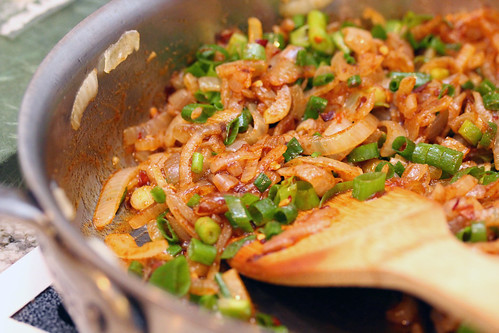
Add the dried spices and the white part of the scallions, sauté for a few more minutes. Your kitchen will smell ridiculous at this point. Remove from heat, and mix in the remaining scallions.

Sauteed seasoned

Meanwhile, brown the meat in the oil over high heat. Brown a little bit at a time, we're looking to sear the meat, not boil it (and if you liberate a ton of fluid, you'll end up making beef stew).

Browned meat

As you finish each batch of meat, set aside to cool. Don't make piles, we're not steaming beef here.

When everything has cooled, mix the beef, onion mixture, 3 tbsp of lard and the oregano (so glad we planted oregano in the garden this year, yum!).

Chill the mixture in the fridge overnight.

On day two, peel and chop the boiled eggs, and chop the olives.

Boiled eg

Roll out the dough to ⅛" thick.

Emanada dough

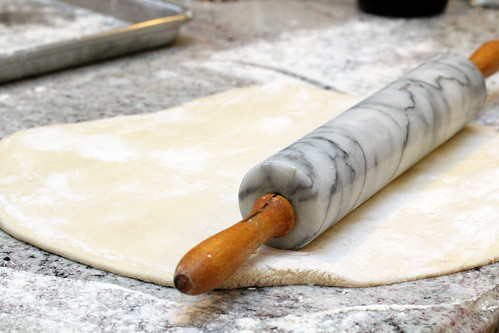
Cut out 3 ½" circles in the dough and set aside on a floured tray. Repeat until all dough is gone.

Emanada dough

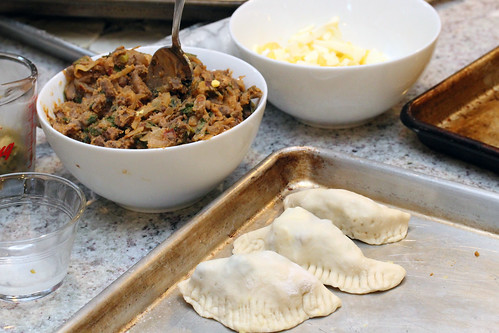
Get filling, butter, olives and eggs ready. Place a heaping tablespoon of filling in a circle of dough. Add a tiny bit of butter, olives and eggs.

Emanada dough

Wet the outside of the circle of dough. Fold across the mid-line, and pinch shut with a fork.

Emanada dough

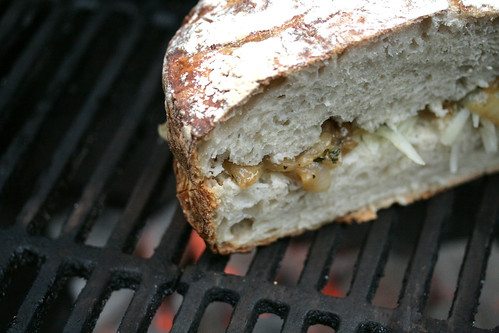
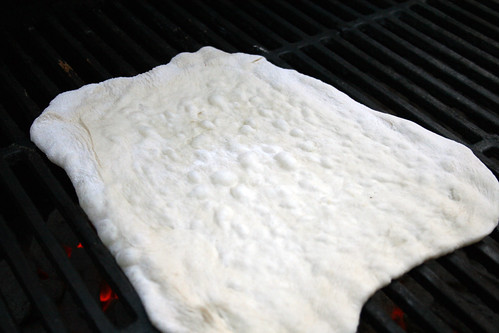
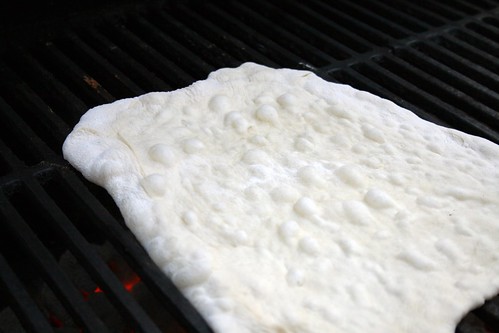
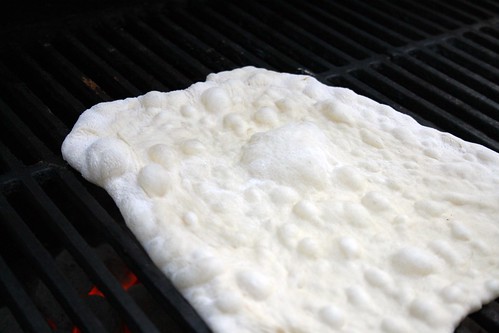
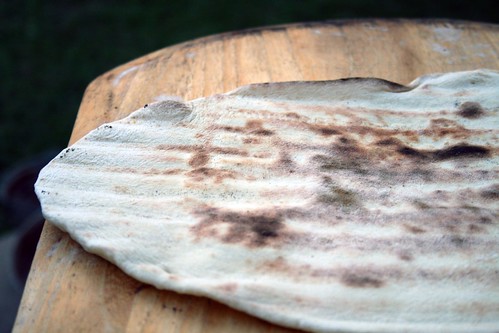
Repeat. A bunch. If you're alone because Mrs. Dude is working late, continue folding for about an hour. Heat up your grill to 350°F. Cook each tray of emapanadas by indirect heat, using a bit of cherry wood for smoke. Cook until the empanadas are nicely browned.

Remove from heat and cool.

Grilled empanadas

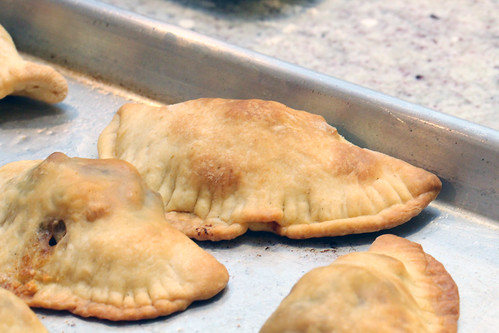
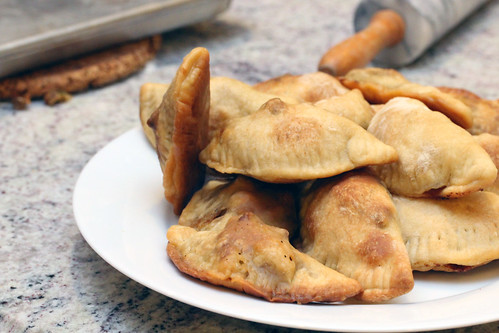
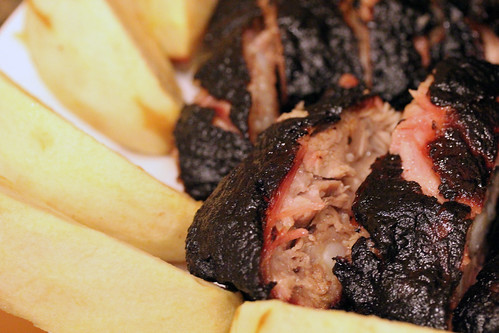
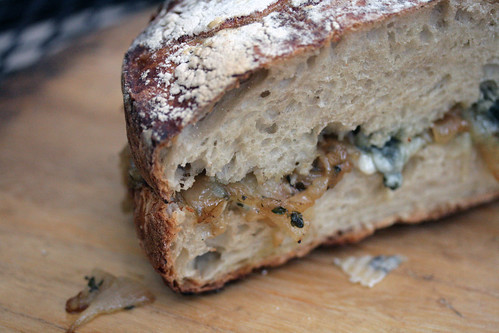
Serve. The lard creates a beautifully crunchy crust. And the salty, spicy, fat filling. In the language of the young folk. OMGWTFBBQ.  Really. It's that good.


By

23 November 2011

Thanksgiving preparation: Volume 3.

This is a re-post. This is the real deal, getting ready to serve the bird for Thanksgiving.

I'm not much for the "traditional" ChristmasThanksgiving dinner. Turkey is far from my favourite bird. It's not as flavourful as goose, and certainly more dry than a duck. But I have a deal with my wife. If I make her traditional Christmas dinner, that is, turkey, cranberry sauce, salad, veggies and rhubarb pie, then I'm allowed to cook whatever I want for the rest of the holidays.

Well, what better way to heighten the flavour of a turkey, than to brine it and smoke it. I start the night before with a fresh, unaltered turkey. Three points to keep in mind before you start. First is that most turkeys have been extensively injected with salty chicken or turkey broth. While that makes the flavour stronger, it also makes them fairly salty. If you brine a pre-treated turkey, you'll create an inedible salt bomb. Secondly, don't forget if you're starting with a frozen turkey, it'll take a day per 5 pounds to thaw it in the fridge, and it needs to be thawed (or nearly thawed) when you place it in the brine. We started thawing our 10 pounder a day and a half prior to brining. Third, smoking takes longer than roasting a turkey. That said, for food safety sake, don't stuff your turkey, and don't smoke a bird bigger than 16 pounds. You'll need thirty minutes per pound, so anything bigger than that will be too long in the danger zone, and you don't want to serve your family a big poultry bag of Campylobacter. You really, really don't.

Okay, the brine:
1 ½ gallon water
1 ½ cup salt (2 ¼ cups Kosher or coarse salt - Kosher salt is flaked to make it less dense)
¾ cup sugar
½ cup dried tarragon
1 ½ tsp black pepper
Boil the water to get rid of any chlorine in it. Let cool to room temperature. Mix in the salt and sugar until they're dissolved. Add the tarragon and pepper. Place in a large container. (I reserve a bucket just for brining a turkey every year - it's carefully labeled, to ensure we don't use it to bleach the floor):

food only

Place in a sink, so that when you add the turkey to it it doesn't overflow all over the kitchen counter. Not speaking from experience, or anything. Nope. Nope. Didn't happen to me *ever*. (At least, not since the first time).

Brine

Remove the turkey neck and the bag with the guts in it, (I save the neck and heart for making gravy). Submerge the turkey in the brine, and place back in the fridge. Leave in the brine for approximately twelve hours.

The next morning, remove the turkey from the brine, briefly rinse in the sink, and pat dry.

Clean the turkey

When dry, rub the bird down with olive oil. This will crisp the skin up nicely, as there's not enough fat in turkey skin to make it nice. Truss or not. I won't discuss trussing, because my trussing skills are pretty rough (see the photos). Fire up your smoker to a toasty 225°F. Place the bird breast side up in your smoker. We're using indirect heat here. I use wet hickory for smoke (hickory that's been soaking a few hours in water) and charcoal (not briquettes - it's easier to control the heat with lump charcoal) for heat.

Turkey on the smoker

Smoke for thirty minutes per pound. Half way through, open up the smoker and and rotate the bird so the other side of the bird is facing the heat source.

This photo is at about three quarters done:

Smoked turkey

Sadly, photos taken after this point aren't beautiful (it got dark, and I had to use a flash). But look at that turkey deliciousness!

Take the bird down when a meat thermometer shows 180°F at multiple checked points (don't start checking too early, you don't want to put too many holes in this bird!). Let the bird rest 10-15 minutes before carving. Carve and serve.

These days, this is the only way I enjoy turkey. The smoke adds a reallllly great flavour, and the brine makes the bird salty and moist. Roast turkey is truly bland and boring in comparison. The other bonus point? Having the bird on the smoker leaves the oven free to make pie or bread or any number of other things. It's like having a second oven for the holidays.

Delicious!


By

25 January 2011

Smoked tamarind ribs

Update: Edited quantities after second run with this recipe.

Tamarind is not a flavour often exploited in Western cooking. As it turns out, it goes great with bbq, and we recently used it in our New Year's Eve extravaganza. This is a flavour you want to add to your cooking profile.
7 oz tamarind
6 cloves garlic, coarsely chopped
6 tbsp soy
6 tbsp hoisin
3 tbsp sriracha
½ cup water
kosher salt (yeah, you're gonna use kosher salt on pork ribs - sue me)
1 rack pork ribs

Mix all the ingredients (save the ribs and salt) and bring to a boil, mixing to break up the tamarind chunks.

Marinade

Cool over an hour, and sieve out the tamarind. Pour into a ziploc bag and add the ribs. Place in the fridge overnight, moving around periodically to ensure that the marinade covers all portions of the ribs.

Remove the ribs, and bring to room temperature. Meanwhile, bring your smoker to 200°F with hickory or cherry wood. You'll want lots of wet wood chunks, as these ribs can take a ton of smoke. Liber

ribs

Liberally salt the ribs. Place on the smoker, and close it up. Meanwhile, bring the marinade to a boil. Boil at least five minutes, but long enough to thicken the marinade into a glaze. Remove from heat.

Glaze

Smoke the ribs for 4ish hours.

Smoking rib

Paint on the glaze.

Glazed ribs

Smoke for one more hour at 200°F.

Glazed ribs

Remove, slice and serve.

Smoked ribs

This is a flavour you won't normally encounter on smoked ribs. But the flavour is rich and delicious, and was a huge hit the night of our New Year's Party. Delish.

19 October 2010

Deluxe grilled cheese

Here's a quick one. A nice and easy Sunday dinner, that ends up seeming a little deluxe. Let's dial up a grilled cheese.

I used a nice no-knead bread that I make frequently. That, and some manchego cheese and some gorgonzola.

cheese

Sauté some onions.  Meanwhile, start heating your grill.

caramelized onions

Slice the bread.  Layer in the cheeses and the onions.  Close up your sandwhich, and roast for about 10 minutes on each side on the grill.

Grilled cheese

If the cheese isn't melted, slide over to the cool side of the grill and close up the grill until the cheese melts.

Slice and serve.

Grilled cheese

A tiny bit of deliciousness with a tiny bit of effort.

31 August 2010

Quail eggs

While picking up eggs at my favourite Asian grocer, 99 Ranch, I noticed - quail eggs.  How awesome is that?  If only my local store kept quail eggs.

quail eggs

Look at those cute little things.  Each the size of one knuckle of my thumb.  I just had to have them.  So for a couple of bucks, I brought ten of them home with me.

But what to do with them?  Well, my classic use for random ingredients on the grill is pizza.  I'm not going into all the details.  I've done that before.

This time, we dressed the pizza, with homemade garlic-chile oil. Coppa Molina from Knight Salumi. Thai peppers, from 99 Ranch. Shiitake mushrooms, from the Hillcrest farmer's market. Salted tomatoes.  And a mixture of mozzarella and parmesan cheese.  On top of the cheese, we put a few quail eggs.

Quail egg pizza

Look at those pretty little guys!

The quail eggs were a little tricky to prepare.  They have a pretty intense membrane inside, that needs to be torn open.  Fortunately, the yolks don't seem to be fragile, as I was pretty rough with them getting them open, and didn't break the yolks.  Anyone have any tricks for easier access?

Cook the pizza on indirect heat until the whites have turned white.  You want to maintain a nice runny yolk (though over a charcoal fire, you can see that the back yolk solidified a bit).

Quail egg pizza

Slide over direct heat for 30 seconds to brown the bottom of the crust.  Remove from heat, slice and serve.

Having that lovely yolk dripping all over the pizza was awesome.  I would probably pair the eggs with more delicate toppings next time - coppa isn't exactly delicate.  But this was fantastic.  We'll be doing this again.

25 July 2010

Farmer's market pizza

Pizza

One of my favourite things about living in San Diego is the quality of the farmer's markets and the many ethnic markets in the city.  My favourite farmer's market in San Diego is the Little Italy farmer's market on Saturday mornings.  (Mrs. Dude prefers the Hillcrest one on Sunday).  The strength of the Hillcrest market is the selection of produce.  The strength of Little Italy is that it has a butcher, smoked fish vendor, Knight Salumi and a sea urchin vendor.  You can see how a bbq enthusiast would prefer Little Italy.

busker

Saturday was a lovely morning to be at the farmer's market. The sky was blue. The weather was nice, and several musicians were doing their thang.

Little Italy farmer's market

Clearly I wasn't the only one who thought so.

I picked up the pepperoni from Knight Salumi. Forgive the ragged edges, I'm still learning to use my new Sugimoto gyuto. This inspired me to make smoked pizza (I've made described this recipe before so I won't get into details here)

Knight Salumi pepperoni

And I picked up some produce and goat white cheddar (those green zebras are from our garden).

Farmer's market produce

Finally, on my way out of the market, I saw a vendor selling microgreens. When I told him of my smoked pizza plan, he pointed me towards the basil microgreens. I steered clear (seemed to obvious) and headed for the radish microgreens.

Radish microgreens

I made the pizza dough as described here. Laid it out on a screaming hot grill (prepared to have a hot area and a cool area).

Pizza dough

In just two minutes, you can brown one side of the dough. And watch it bubble up.

Pizza dough

When the bubbles get really large...

Pizza dough

And the underside is browned...

Pizza crust

You can flip it over, and bring it into the kitchen to be dressed with garlic oil and toppings.

Pizza

Put it on the cool side of the grill and close up the grill for ten minutes or so (until the cheese has melted).

Pizza

When the cheese looks good, slide the pizza over the fire to brown the underside of the crust for a minute or two. Slide off the grill, and put on any toppings that aren't heat friendly (like the microgreens, and fresh basil leaves from our garden).

Pizza

Serve.  Fresh ingredients on pizza are a huge win.  The radish microgreens added a really nice, bright crisp element to the greasy/cheesiness of this pizza.  But really, it was all win.  And if you're organized, you can have 3 of these on the go simultaneously on the grill, at various stages of cooking.

Yum.

20 July 2010

Burnt ends

When work gets crazy (and it's all kinds of crazy right now), nothing relaxes me more than a day spent smoking meat. Twelve hours to smoke a brisket means that I'm spending all day outside, tending the fire. Perhaps with a beer, perhaps with a book. That is utter relaxation. Some people meditate. Others do Tai Chi. I smoke meat.

This past weekend, I prepared a meal for a party where I intended to cook for 50. So 2 briskets on the smoker (using this recipe and mesquite smoke), and I'm relaxing my way through the afternoon...

Raw, rubbed brisket

Well as it happens, only 30 or so folks showed up, so now I have an enviable problem. We've eaten one brisket, but I still have one 14 lb brisket to consume.  Now, brisket sandwiches for weeks is pretty tasty, but what about doing something creative with part of the other brisket.  Well, how about burnt ends?  Burnt ends are the re-smoked point of a beef brisket.  The brisket parts are called the flat (which is traditionally sliced for sandwiches) and the point, which is thicker and fattier (see diagram here).

In this case, I sliced off the point of a brisket that had been smoked for twelve hours and put it in the fridge until the following day.  The next day, back on the smoker it goes.

Brisket point

Smoke for 4 hours at 225 °F.

Burnt end

Look at that darkened crust (also called bark).  That's apparently what you're going for (and indeed, is always Mrs. Dude's favourite part of a brisket).  This additional smoking released even more fat, rendered and caught in the drip pan below.

Burnt end

Let rest 15 minutes before slicing.

How did it turn out?  Mrs. Dude thought it could have spent even longer on the smoker, she would have liked even more thick, tough bark.  You can see that it's not terribly thick when sliced.  Next time I'll keep it on there another 2 hours.

Serving burnt end

Indeed, you almost can't over-smoke this cut.  It's so thick, and so fatty it ought to be damn near impossible to dry this out.  You could use the dried out bits to season chile, or do like we did, and serve them on buns with bbq sauce.

Served with:

Served with