I'm not much for the "traditional" Christmas dinner. Turkey is far from my favourite bird. It's not as flavourful as goose, and certainly more dry than a duck. But I have a deal with my wife. If I make her traditional Christmas dinner, that is, turkey, cranberry sauce, salad, veggies and rhubarb pie, then I'm allowed to cook whatever I want for the rest of the holidays.
Well, what better way to heighten the flavour of a turkey, than to brine it and smoke it. I start the night before with a fresh, unaltered turkey. Three points to keep in mind before you start. First is that most turkeys have been extensively injected with salty chicken or turkey broth. While that makes the flavour stronger, it also makes them fairly salty. If you brine a pre-treated turkey, you'll create an inedible salt bomb. Secondly, don't forget if you're starting with a frozen turkey, it'll take a day per 5 pounds to thaw it in the fridge, and it needs to be thawed (or nearly thawed) when you place it in the brine. We started thawing our 10 pounder a day and a half prior to brining. Third, smoking takes longer than roasting a turkey. That said, for food safety sake, don't stuff your turkey, and don't smoke a bird bigger than 16 pounds. You'll need thirty minutes per pound, so anything bigger than that will be too long in the danger zone, and you don't want to serve your family a big poultry bag of Campylobacter. You really, really don't.
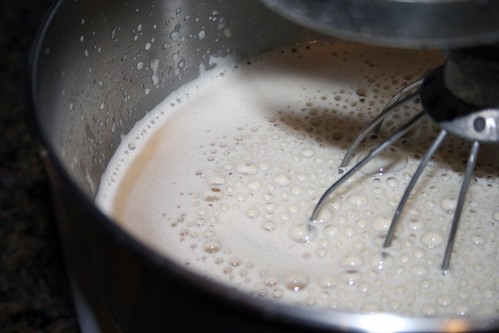
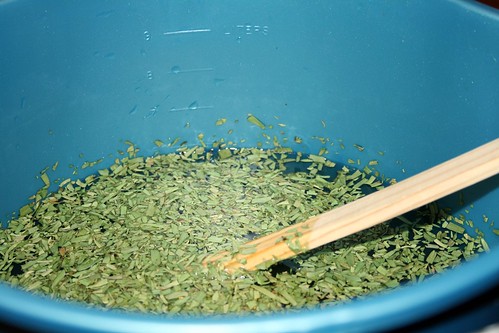
Okay, the brine:
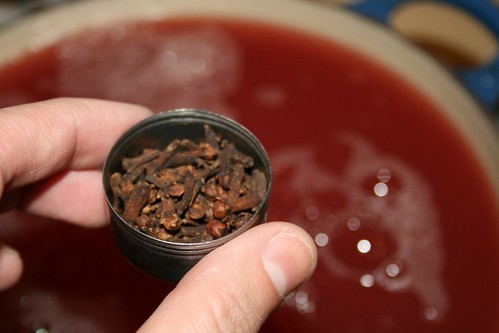
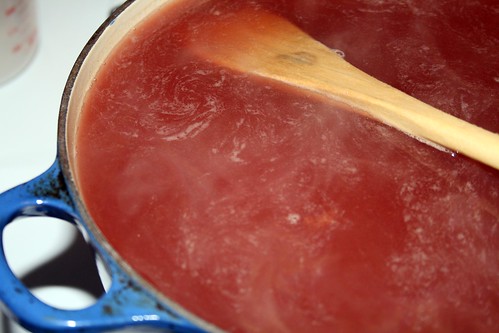
1 ½ gallon waterBoil the water to get rid of any chlorine in it. Let cool to room temperature. Mix in the salt and sugar until they're dissolved. Add the tarragon and pepper. Place in a large container. (I reserve a bucket just for brining a turkey every year - it's carefully labeled, to ensure we don't use it to bleach the floor):
1 ½ cup salt (2 ¼ cups Kosher or coarse salt - Kosher salt is flaked to make it less dense)
¾ cup sugar
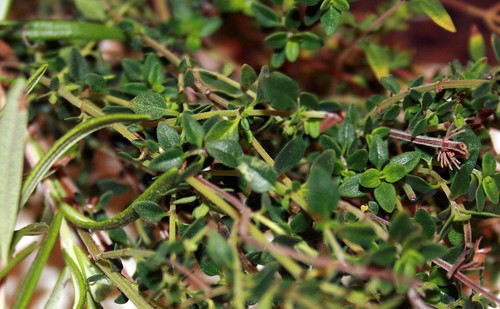
½ cup dried tarragon
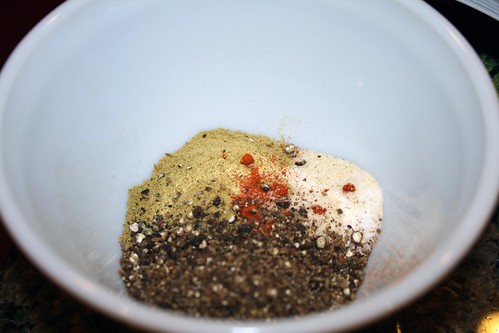
1 ½ tsp black pepper

Place in a sink, so that when you add the turkey to it it doesn't overflow all over the kitchen counter. Not speaking from experience, or anything. Nope. Nope. Didn't happen to me *ever*. (At least, not since the first time).
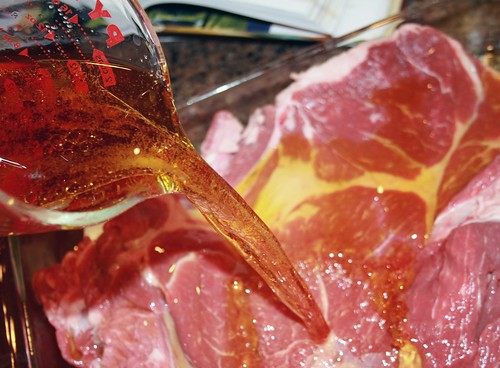
Remove the turkey neck and the bag with the guts in it, (I save the neck and heart for making gravy). Submerge the turkey in the brine, and place back in the fridge. Leave in the brine for approximately twelve hours.
The next morning, remove the turkey from the brine, briefly rinse in the sink, and pat dry.
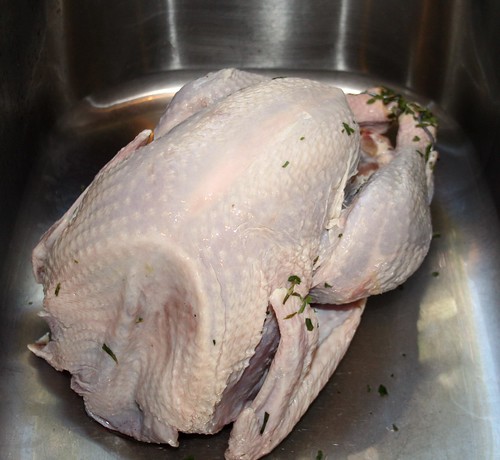
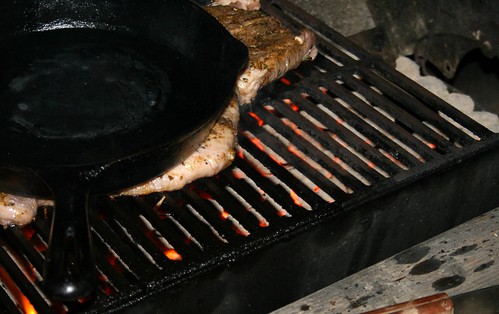
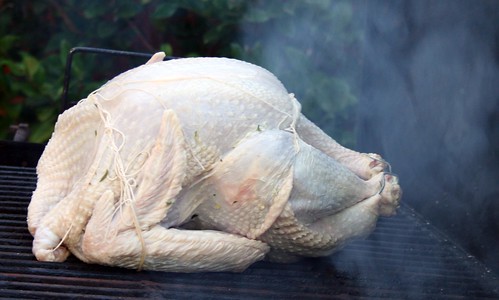
When dry, rub the bird down with olive oil. This will crisp the skin up nicely, as there's not enough fat in turkey skin to make it nice. Truss or not. I won't discuss trussing, because my trussing skills are pretty rough (see the photos). Fire up your smoker to a toasty 225°F. Place the bird breast side up in your smoker. We're using indirect heat here. I use wet hickory for smoke (hickory that's been soaking a few hours in water) and charcoal (not briquettes - it's easier to control the heat with lump charcoal) for heat.
Smoke for thirty minutes per pound. Half way through, open up the smoker and and rotate the bird so the other side of the bird is facing the heat source.
This photo is at about three quarters done:
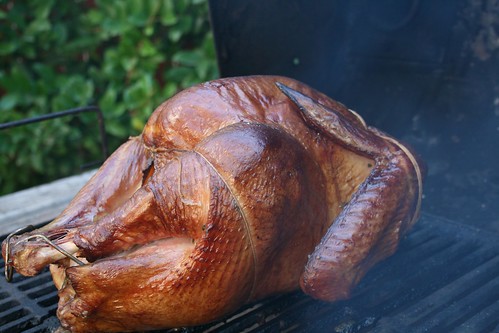
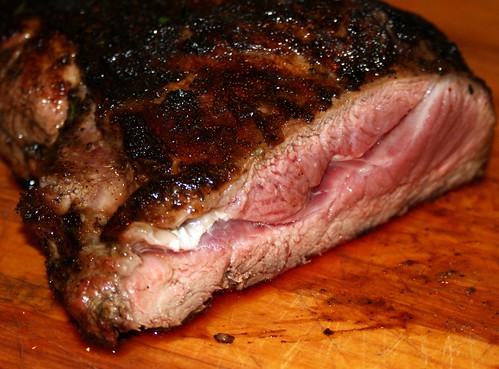
Sadly, photos taken after this point aren't beautiful (it got dark, and I had to use a flash). But look at that turkey deliciousness!
Take the bird down when a meat thermometer shows 180°F at multiple checked points (don't start checking too early, you don't want to put too many holes in this bird!). Let the bird rest 10-15 minutes before carving. Carve and serve.
These days, this is the only way I enjoy turkey. The smoke adds a reallllly great flavour, and the brine makes the bird salty and moist. Roast turkey is truly bland and boring in comparison. The other bonus point? Having the bird on the smoker leaves the oven free to make pie or bread or any number of other things. It's like having a second oven for the holidays.
Delicious!