26 September 2012
25 September 2012
Empanadas
Boston isn't the largest city in the U.S. Not by a long shot. But being a college-town on steroids means that it's a cosmopolitan town that attracts scientists from around the world. Despite living the furthest from Latin America in all the years that I've lived in the U.S., there is plenty of Latin cuisine here. And that often means empanadas are served at potlucks.
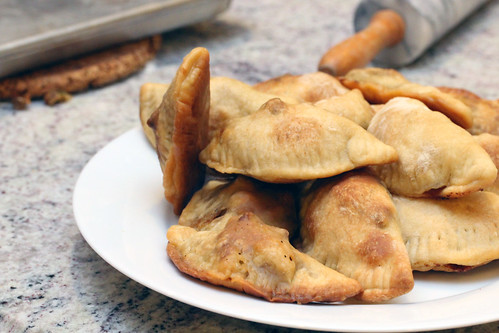
We've taken the Argentine recipe from Seven Fires: Grilling the Argentine Way and cooked them on the grill.
Here we go. Make the dough and the filling the night before you plan to serve these tasty critters.
For the dough:
Bring the water and salt to boil. Remove from heat, and add the lard. Stir until the lard melts, then transfer to a bowl to cool.
When it's cooled to room temperature, mix in the flour, a cup at a time, until you've added 6 cups. Flour a surface, and knead the ball of dough, adding flour until you have a stiff, dry dough.
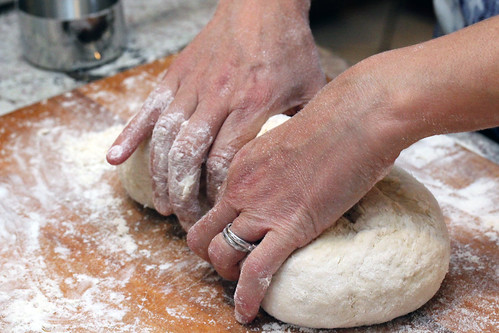
Split the dough in half.
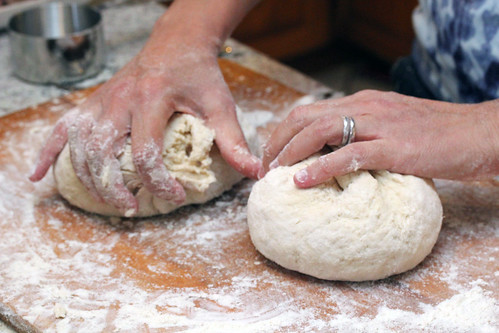
Wrap and place in the fridge to chill overnight.
Meanwhile, make the filling:
Chop the onions. Sauté the onions in the 6 tbsp of butter and 1 tbsp of lard over low heat. Cook until clear.
Add the dried spices and the white part of the scallions, sauté for a few more minutes. Your kitchen will smell ridiculous at this point. Remove from heat, and mix in the remaining scallions.
Meanwhile, brown the meat in the oil over high heat. Brown a little bit at a time, we're looking to sear the meat, not boil it (and if you liberate a ton of fluid, you'll end up making beef stew).
As you finish each batch of meat, set aside to cool. Don't make piles, we're not steaming beef here.
When everything has cooled, mix the beef, onion mixture, 3 tbsp of lard and the oregano (so glad we planted oregano in the garden this year, yum!).
Chill the mixture in the fridge overnight.
On day two, peel and chop the boiled eggs, and chop the olives.
Roll out the dough to ⅛" thick.
Cut out 3 ½" circles in the dough and set aside on a floured tray. Repeat until all dough is gone.
Get filling, butter, olives and eggs ready. Place a heaping tablespoon of filling in a circle of dough. Add a tiny bit of butter, olives and eggs.
Wet the outside of the circle of dough. Fold across the mid-line, and pinch shut with a fork.
Repeat. A bunch. If you're alone because Mrs. Dude is working late, continue folding for about an hour. Heat up your grill to 350°F. Cook each tray of emapanadas by indirect heat, using a bit of cherry wood for smoke. Cook until the empanadas are nicely browned.
Remove from heat and cool.
Serve. The lard creates a beautifully crunchy crust. And the salty, spicy, fat filling. In the language of the young folk. OMGWTFBBQ. Really. It's that good.
By Bbq Dude
We've taken the Argentine recipe from Seven Fires: Grilling the Argentine Way and cooked them on the grill.
Here we go. Make the dough and the filling the night before you plan to serve these tasty critters.
For the dough:
2 cups water
1 ½ tbsp salt
3 ½ tbsp lard
6 to 7 cups all-purpose flour
Bring the water and salt to boil. Remove from heat, and add the lard. Stir until the lard melts, then transfer to a bowl to cool.
When it's cooled to room temperature, mix in the flour, a cup at a time, until you've added 6 cups. Flour a surface, and knead the ball of dough, adding flour until you have a stiff, dry dough.
Split the dough in half.
Wrap and place in the fridge to chill overnight.
Meanwhile, make the filling:
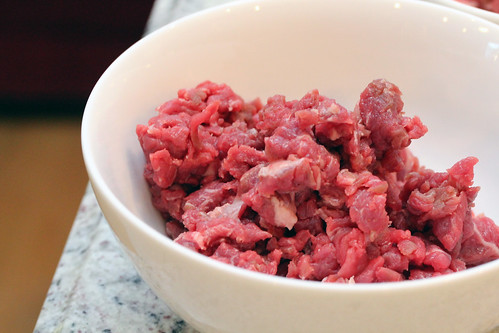
1 lb well-marbled sirloinTrim the most egregious pieces of fat off of the beef. Then chop finely. Think ground beef, but not quite that fine. That's why you do it by hand, you want it to still have some texture to it, but you want it pretty fine.
coarse salt and fresh pepper
10 tbsp unsalted butter
¼ cup lard
3 medium onions
1 tbsp crushed red pepper flakes
1 tbsp ground cumin
1 tbsp paprika
4 scallions, minced and separating green and white parts
2 tbsp extra virgin olive oil
¼ cup fresh oregano leaves
3 hard-boiled large eggs, coarsely chopped
½ cup pitted green olives, coarsely chopped
Chop the onions. Sauté the onions in the 6 tbsp of butter and 1 tbsp of lard over low heat. Cook until clear.
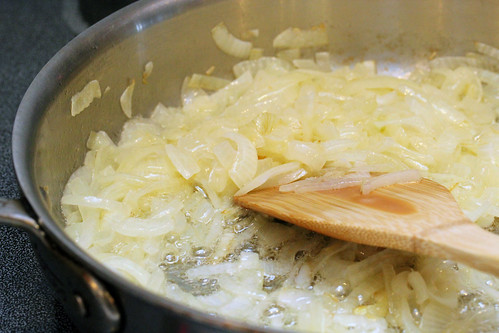
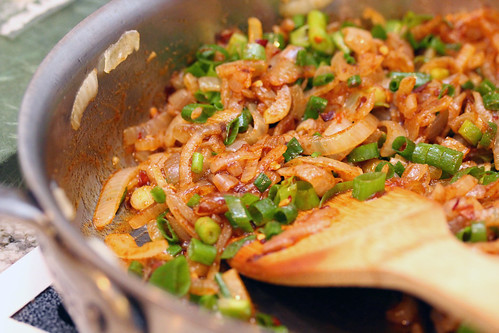
Add the dried spices and the white part of the scallions, sauté for a few more minutes. Your kitchen will smell ridiculous at this point. Remove from heat, and mix in the remaining scallions.
Meanwhile, brown the meat in the oil over high heat. Brown a little bit at a time, we're looking to sear the meat, not boil it (and if you liberate a ton of fluid, you'll end up making beef stew).
As you finish each batch of meat, set aside to cool. Don't make piles, we're not steaming beef here.
When everything has cooled, mix the beef, onion mixture, 3 tbsp of lard and the oregano (so glad we planted oregano in the garden this year, yum!).
Chill the mixture in the fridge overnight.
On day two, peel and chop the boiled eggs, and chop the olives.
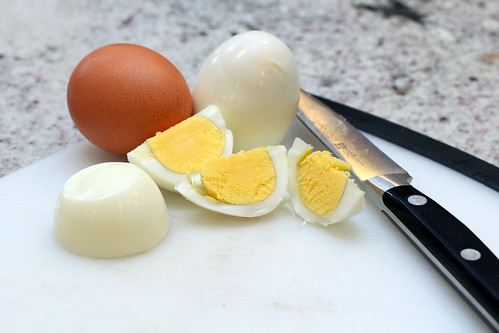
Roll out the dough to ⅛" thick.
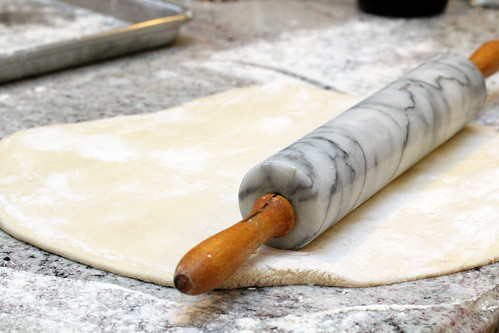
Cut out 3 ½" circles in the dough and set aside on a floured tray. Repeat until all dough is gone.
Get filling, butter, olives and eggs ready. Place a heaping tablespoon of filling in a circle of dough. Add a tiny bit of butter, olives and eggs.
Wet the outside of the circle of dough. Fold across the mid-line, and pinch shut with a fork.
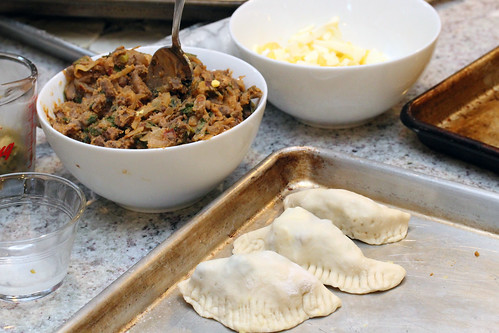
Repeat. A bunch. If you're alone because Mrs. Dude is working late, continue folding for about an hour. Heat up your grill to 350°F. Cook each tray of emapanadas by indirect heat, using a bit of cherry wood for smoke. Cook until the empanadas are nicely browned.
Remove from heat and cool.
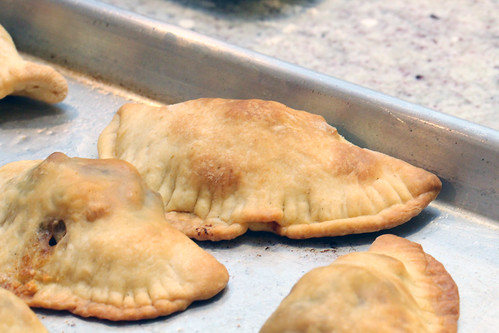
Serve. The lard creates a beautifully crunchy crust. And the salty, spicy, fat filling. In the language of the young folk. OMGWTFBBQ. Really. It's that good.
By Bbq Dude
Keywords:
indirect heat,
main course
19 September 2012
18 September 2012
Blueberry sorbet
So we've become rather large fans of the local you-pick place, Tougas farms. We spent a quiet morning in August picking 9 lb of blueberries. And for less than $25, I call that a win.
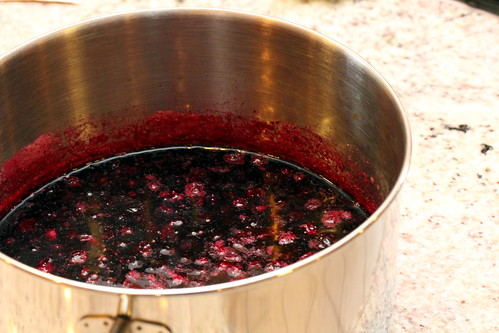
And what do you do with 9 lb of blueberries? Well, we froze a lot of them. But the first thing we made, was blueberry sorbet. I modified a recipe from one of my favourite dessert blogs, Tartelette.
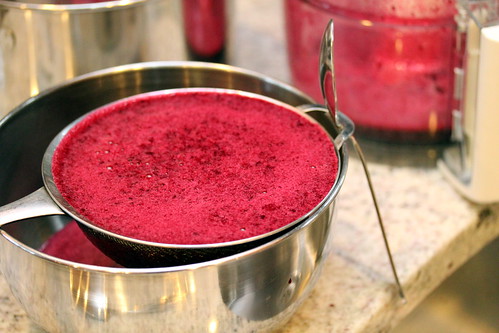
Cool to room temperature. Sieve out the chunks.
And add the vodka. The vodka is in there primarily to keep the sorbet from freezing too solid. And I'm delighted by the texture that this recipe attained.
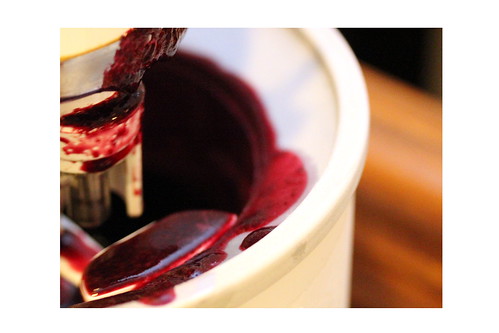
Chill overnight, then run through your ice cream maker the way your instructions say. With my KitchenAid Ice Cream Maker, you freeze the ice cream maker for 24 hours. Then run the syrup in it for about 25 minutes.
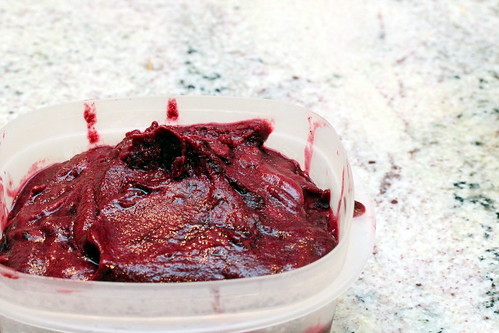
Transfer the sorbet to a cold container, and cure in the freezer for at least 12 hours to further firm the sorbet.
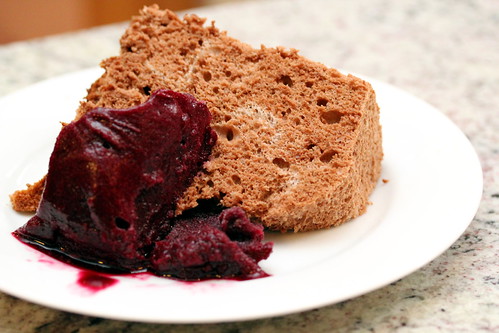
We found this sorbet rather rich-tasting to serve alone. But holy cow does it taste good with a chocolate angel-food cake.
Not bad, not bad. Enjoy.
By Bbq Dude
And what do you do with 9 lb of blueberries? Well, we froze a lot of them. But the first thing we made, was blueberry sorbet. I modified a recipe from one of my favourite dessert blogs, Tartelette.
3 cups fresh or frozen blueberriesBring to boil all ingredients, save vodka.
1 cup sugar
2 cups water
zest and juice of one lemon
1 tbsp blueberry vodka
Cool to room temperature. Sieve out the chunks.
And add the vodka. The vodka is in there primarily to keep the sorbet from freezing too solid. And I'm delighted by the texture that this recipe attained.
Chill overnight, then run through your ice cream maker the way your instructions say. With my KitchenAid Ice Cream Maker, you freeze the ice cream maker for 24 hours. Then run the syrup in it for about 25 minutes.
Transfer the sorbet to a cold container, and cure in the freezer for at least 12 hours to further firm the sorbet.
We found this sorbet rather rich-tasting to serve alone. But holy cow does it taste good with a chocolate angel-food cake.
Not bad, not bad. Enjoy.
By Bbq Dude
Keywords:
dessert
13 September 2012
Chokecherry milkshake
When I was a kid growing up in southern Alberta, my mom would convince the neighborhood kids to help her pick chokecherries or Nanking cherries by offering up rewards. In retrospect, we probably weren't super-helpful. Did she enjoy our company? Was she teaching us a lesson in the value of labour? Probably both.
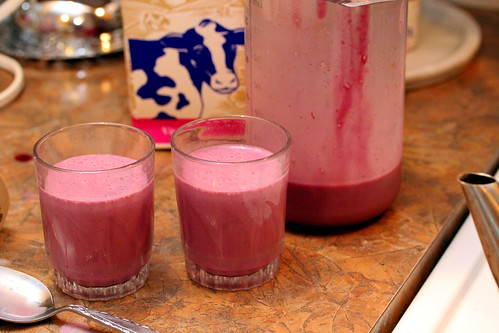
But her favorite reward for us was a fresh cherry milkshake.
Cherry milkshakes are pretty easy to put together. No quantities required. Just:
ice cream
milk
chokecherry syrup
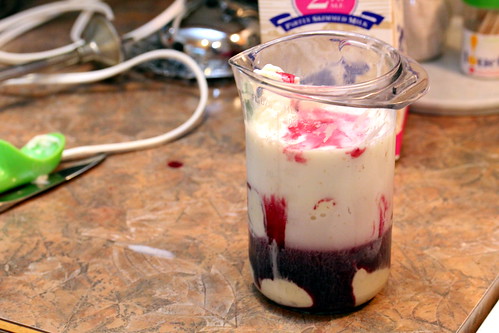
I loosely fill our blender with ice cream. Then add milk to about half full. And add about ¼ volume syrup.
Yup, this is all very rough. Too much milk, and your milkshake is runny. Too little syrup, and it's not flavourful enough. Practice. Taste. Even your failures will be pretty tasty.
Most importantly, serve these to a child in your life. And watch their face light up. This flavour is available nowhere else.
By Bbq Dude
Keywords:
beverages
11 September 2012
Chokecherry syrup
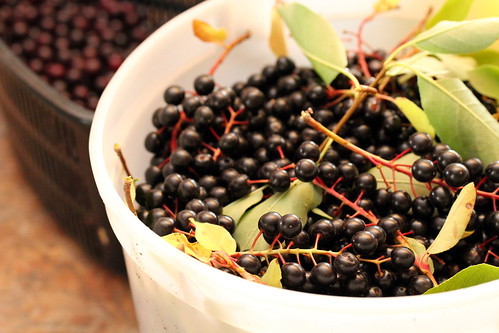
On a recent visit to my home in southern Alberta, we arrived in the peak of chokecherry season. I wanted to give my son a taste of home, so we planned an excursion into the river valley to collect chokecherries.
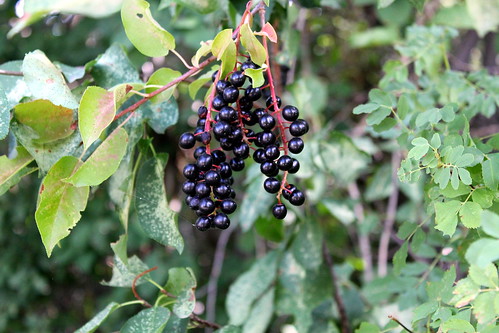
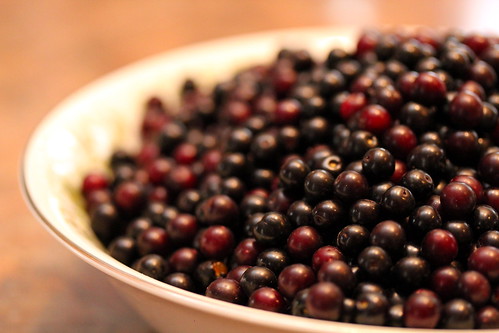
Even in Alberta, few people my age know what chokecherries are. They are plentiful berries that hang in clusters, and have a very large pit relative to the berry. And they're really not that tasty. They have an astringent quality, similar to rhubarb, that makes your lips and teeth feel unpleasant. But when cooked with lots of sugar, they're quite delicious.
We were able to easily find large areas of chokecherries growing in a park in Lethbridge, and they were largely undisturbed. We could have picked there all day, but the kids quickly grew tired, so we returned home with a few buckets of cherries.
While picking we talked about food and cooking, and the flavours that I can't get in Massachusetts. And I told my 74-year old mom about foraging, and how terribly hip it is. "Well, I guess I've been hip all my life" she said. "We've always picked chokecherries, saskatoons and gooseberries."
We spent several hours de-stemming the cherries and chatting with my mom and her sister about the foods of old, and what they ate when they were very poor in the 1940s and 1950s.
Chokecherries, rhubarb and damson plums were inexpensive (free) and readily available. Today, they're a local luxury that too few people take advantage of.
Chokecherry syrup:
Mix equal volume:
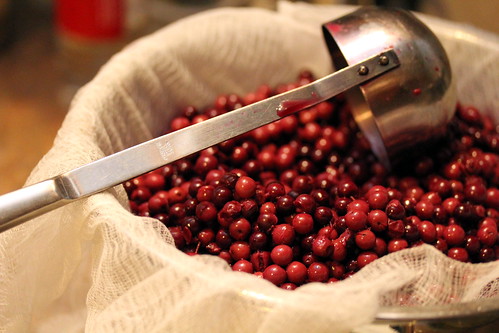
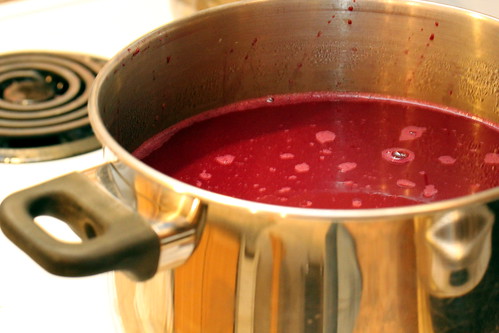
When the chokecherries have bleached, pour them into a colander lined with cheesecloth placed over a pot to catch the juice.
When we got to this step, my mother turned to me and put on a very sombre face. "You have a choice. Most recipes say at this stage not to press the chokecherries, because it releases all kinds of stuff that makes the syrup not be clear. I press the cherries to release all that flavor. What do you want to do?"
What would you do? I did it Mom's way. We squeezed the cherries, for a turbid syrup that was as delicious as I remembered from my childhood. Measure out the syrup you recover, and mix with an equal volume of:
I was surprised by how simple her canning process is. She uses cleaned old jam, jelly and pickle jars, rinses them with boiling water. She boils the lids for a few minutes, adds the boiling syrup to the jars, and then applies the lids. Take your own canning precautions.
We use this syrup for pancakes, crêpes and waffles. The flavour is bright, and unique. Unlike anything you can get commercially. Delicious.
By Bbq Dude
Even in Alberta, few people my age know what chokecherries are. They are plentiful berries that hang in clusters, and have a very large pit relative to the berry. And they're really not that tasty. They have an astringent quality, similar to rhubarb, that makes your lips and teeth feel unpleasant. But when cooked with lots of sugar, they're quite delicious.
We were able to easily find large areas of chokecherries growing in a park in Lethbridge, and they were largely undisturbed. We could have picked there all day, but the kids quickly grew tired, so we returned home with a few buckets of cherries.
While picking we talked about food and cooking, and the flavours that I can't get in Massachusetts. And I told my 74-year old mom about foraging, and how terribly hip it is. "Well, I guess I've been hip all my life" she said. "We've always picked chokecherries, saskatoons and gooseberries."
We spent several hours de-stemming the cherries and chatting with my mom and her sister about the foods of old, and what they ate when they were very poor in the 1940s and 1950s.
Chokecherries, rhubarb and damson plums were inexpensive (free) and readily available. Today, they're a local luxury that too few people take advantage of.
Chokecherry syrup:
Mix equal volume:
cherriesCover with water. Boil cherries (low simmer) for approx 1 ½ hours.
chopped apple (for thickening)
When the chokecherries have bleached, pour them into a colander lined with cheesecloth placed over a pot to catch the juice.
When we got to this step, my mother turned to me and put on a very sombre face. "You have a choice. Most recipes say at this stage not to press the chokecherries, because it releases all kinds of stuff that makes the syrup not be clear. I press the cherries to release all that flavor. What do you want to do?"
What would you do? I did it Mom's way. We squeezed the cherries, for a turbid syrup that was as delicious as I remembered from my childhood. Measure out the syrup you recover, and mix with an equal volume of:
sugarBoil for a few minutes, until sugar is dissolved and syrup thickens.
I was surprised by how simple her canning process is. She uses cleaned old jam, jelly and pickle jars, rinses them with boiling water. She boils the lids for a few minutes, adds the boiling syrup to the jars, and then applies the lids. Take your own canning precautions.
We use this syrup for pancakes, crêpes and waffles. The flavour is bright, and unique. Unlike anything you can get commercially. Delicious.
By Bbq Dude
Keywords:
condiments
04 September 2012
Oysters
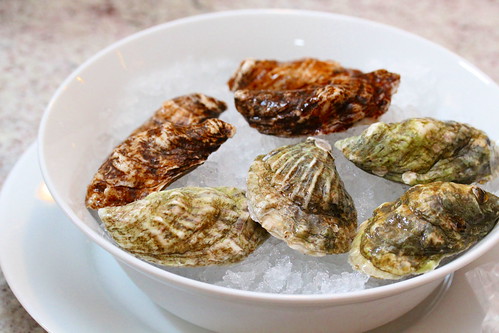
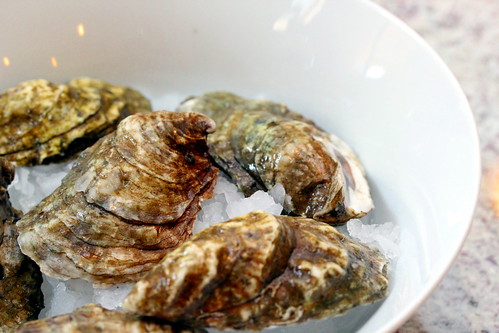
We're settling in and becoming locals in New England. We enjoy the local bounty, and here the local bounty includes oysters (and numerous local places that sell them). At New Deal fish market we picked up several different kinds of oysters, including Cape Spears (from New Brunswick - brown oysters below), Moon Shoals (green below).
And our often favourite, Wellfleets.
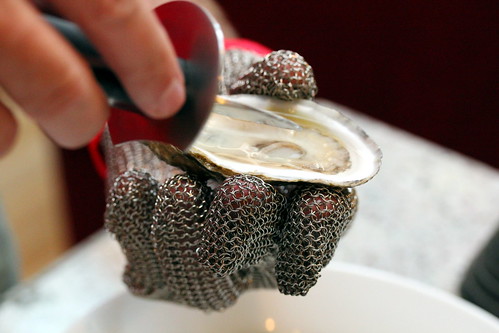
For my birthday this year, Mrs. Dude purchased me the means to have oysters in our home. She got me a Wusthof Oyster Knife and a bucket of oysters. I can't say enough good things about being able to shuck and eat oysters at home. Oysters are a tad tricky to open, but with the right equipment, it doesn't need to be dangerous. I watched a few videos, and this cheesy 80s video is one of the better ones.
We did one thing differently. In the interests of saving the tendons in my hand, my lovely wife bought me a chain-mail glove. In one afternoon, this glove prevented at least 6 trips to the emergency room, so if you don't have the hands of a surgeon, I'd recommend the glove.
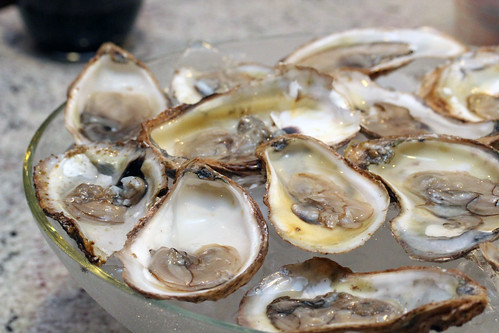
We don't do much with them, merely serving with a touch horseradish and cocktail sauce. What a luxury, to be able to eat these at home.
By Bbq Dude
Keywords:
appetizer
Subscribe to:
Posts (Atom)